Making Mini Macarons (A Gluten Free Dessert)
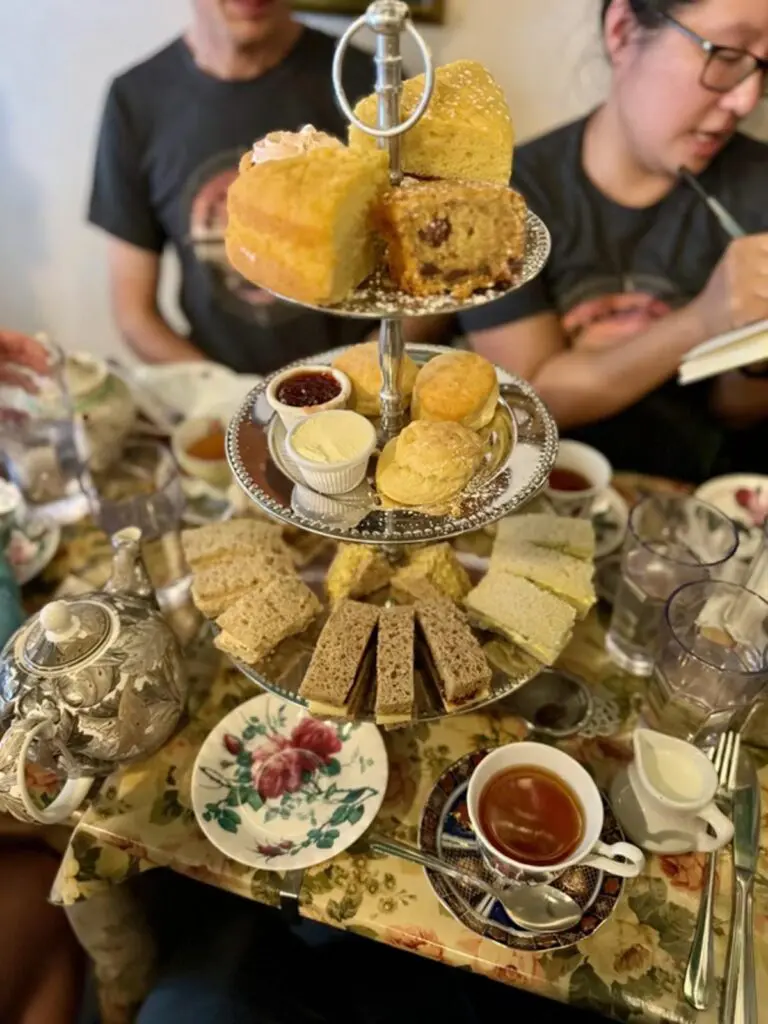
When Xak and I decided to host a gluten free children’s tea party for the first time, we were extremely excited. Then after sending out the invitations and confirming attendees, we realized we had no idea what we should serve. While we do have some experience with gluten free baking (such as pavlovas and cracker candy), a completely gluten free menu might be a little bit difficult. Throw in the highly critical palate of a five year old nephew, and now you’ve got yourself a much bigger challenge.
While we were busy planning the menu, one thing we both agreed on for the dessert tier was macarons. Although we’ve had several issues in the past making these, our love for macarons means we look for any excuse to make and eat them. We typically try to make macarons at least once a year during the summer in honor of our first baking adventure together, but we were happy to make an exception for a gluten free tea party. The only thing is, how would these turn out?
The Macaron Making Process
Macarons are notoriously difficult to make which is probably why impossible challenge loving Xak was so eager to make these for our upcoming tea party. Although I normally help with the macarons, this time Xak was flying solo so I could focus on the other tea party items. Hopefully Xak wouldn’t miss his sous chef too much.
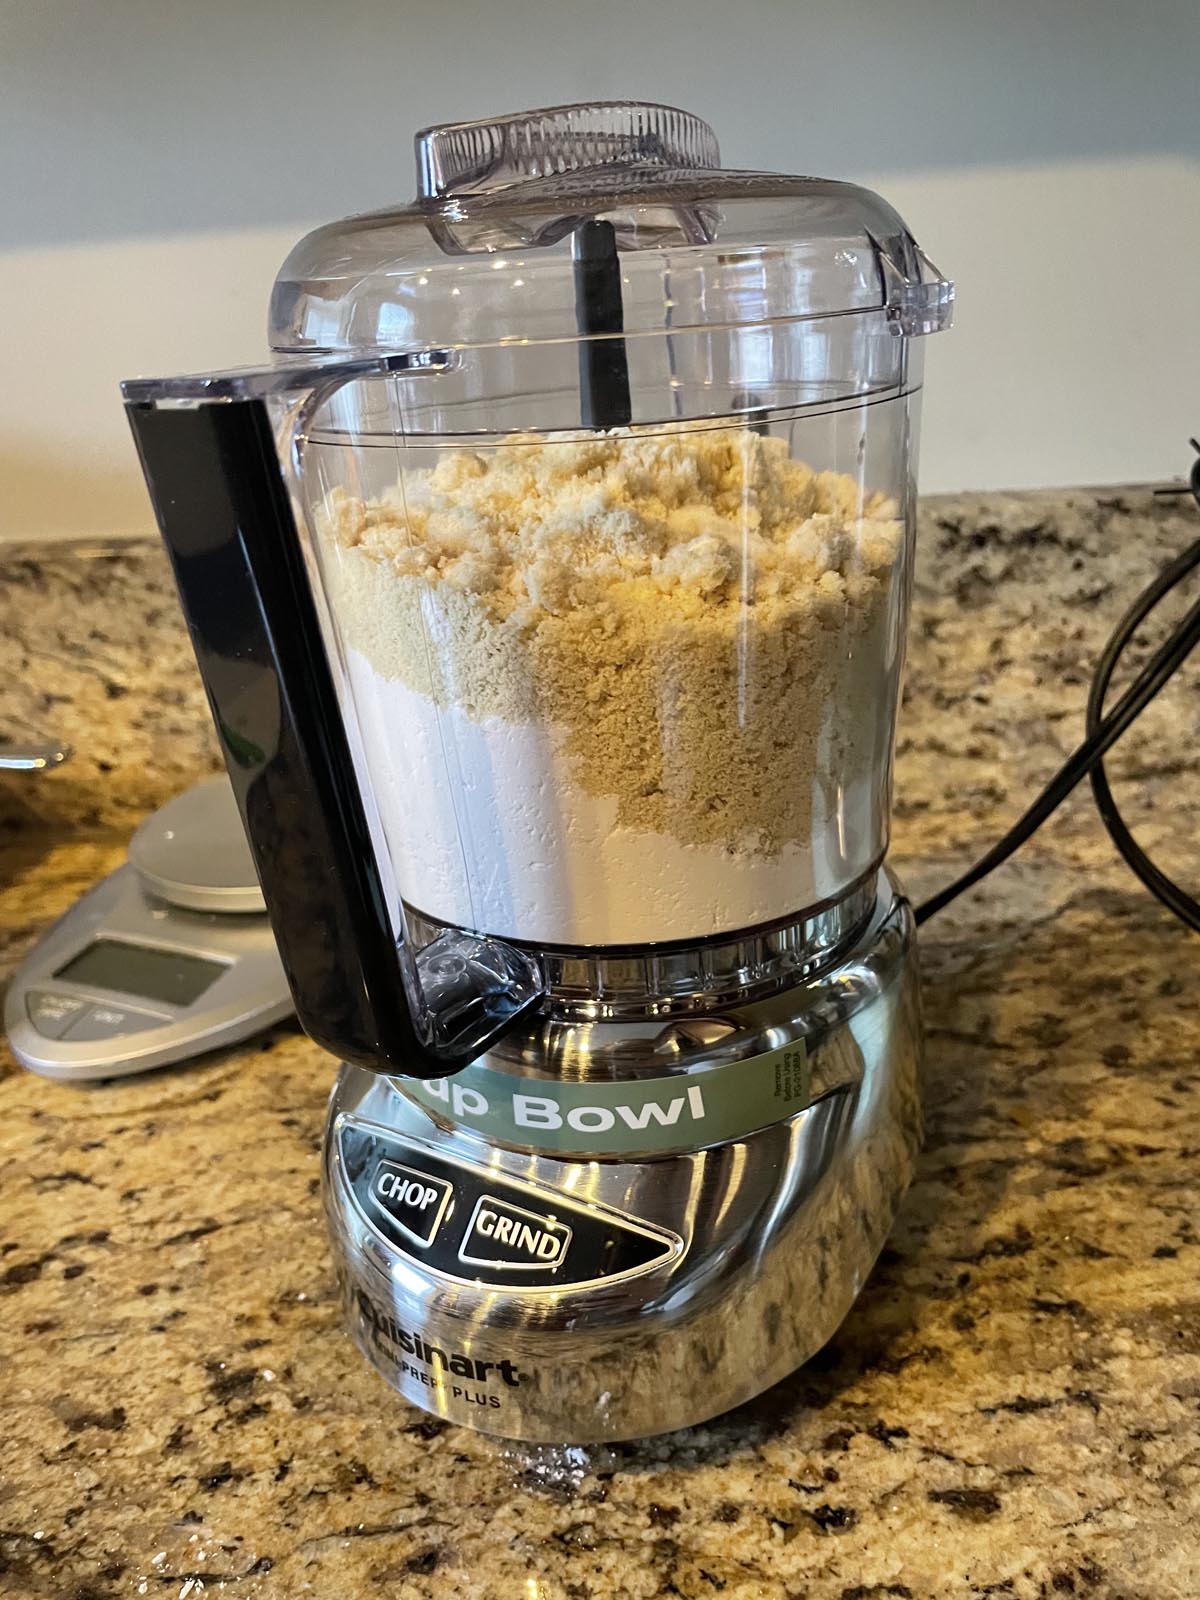
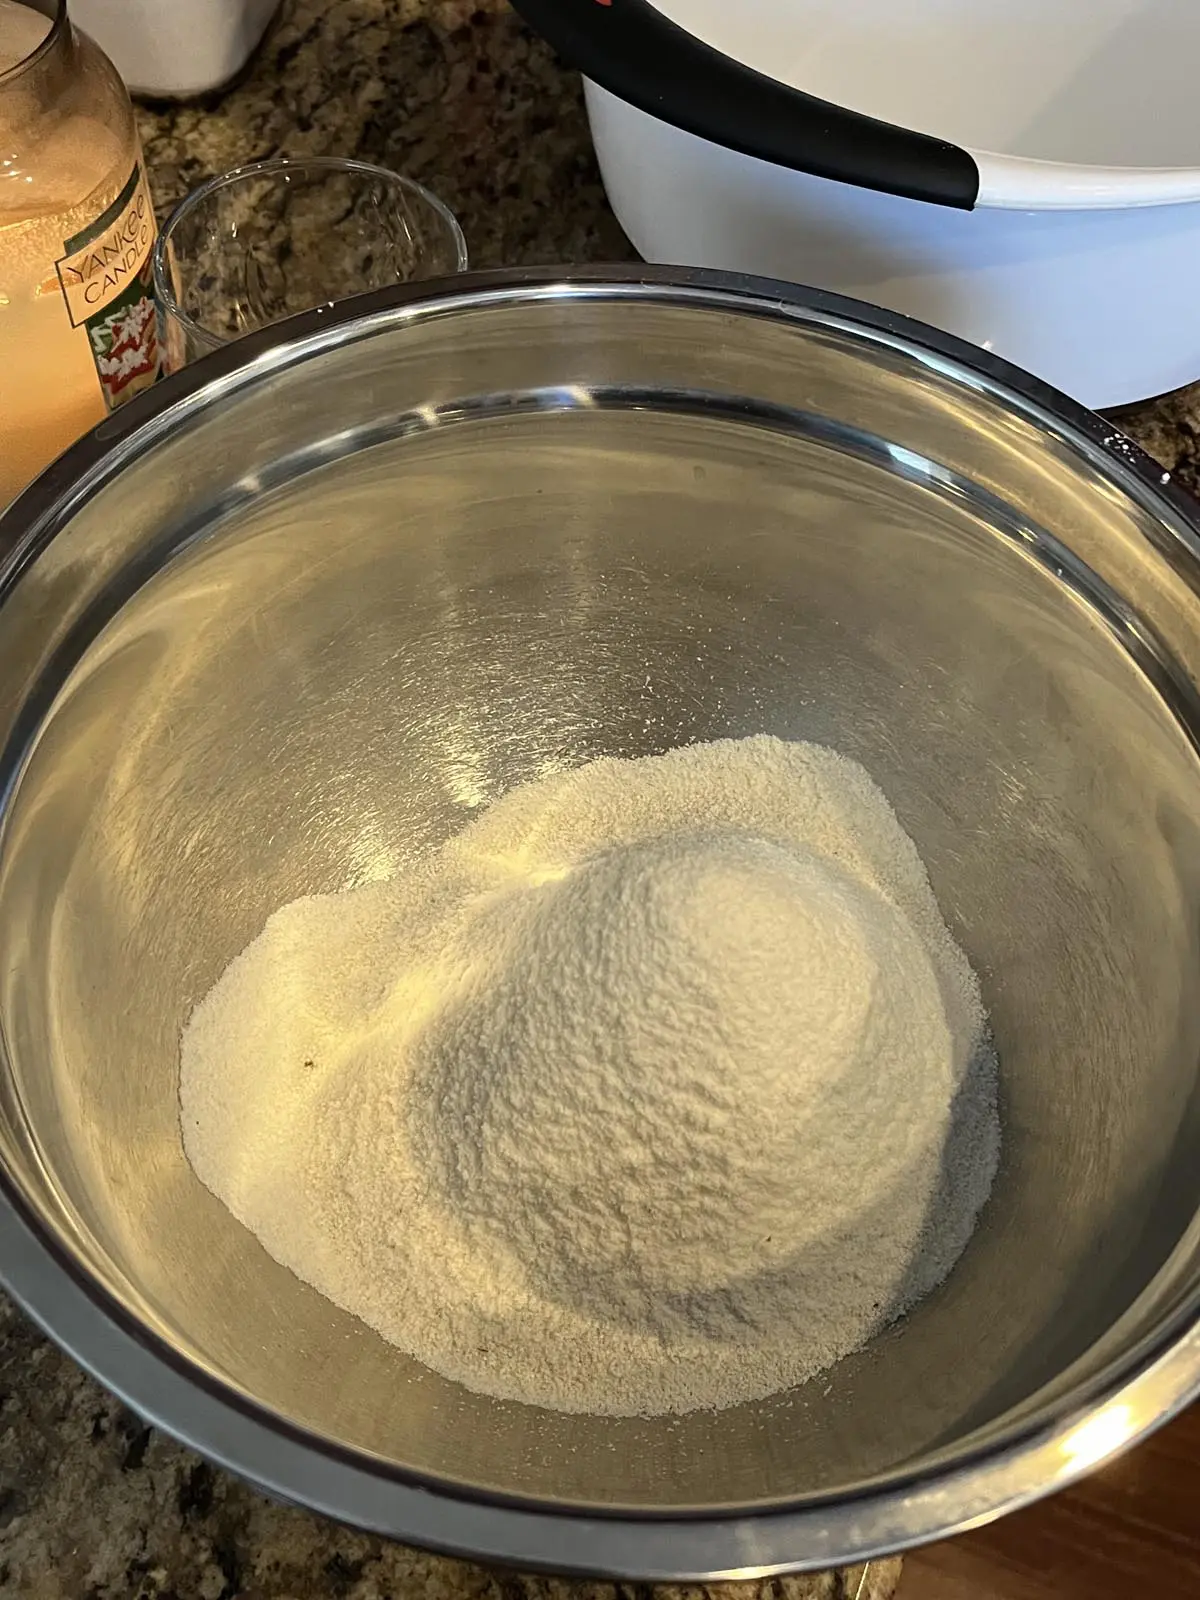
Sifting and Mixing the Macaron Ingredients
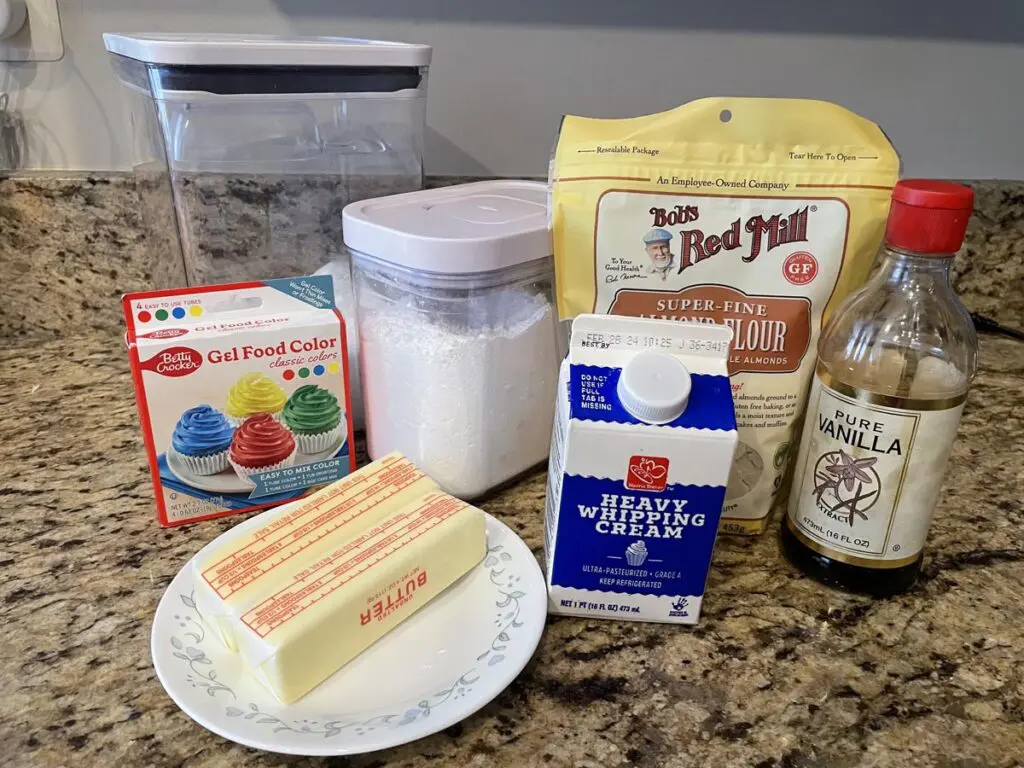
Macarons are naturally gluten free since they contain almond flour and not regular flour. When the flour and sugar is combined, it needs to be sifted so there are no lumps and the resulting cookie will be smooth. I actually heavily enjoy the sifting part, but for this tea, Xak and I had to focus solely on our respective menu items. Hopefully when we make macarons again in summer, I can resume my regular sifting duties.


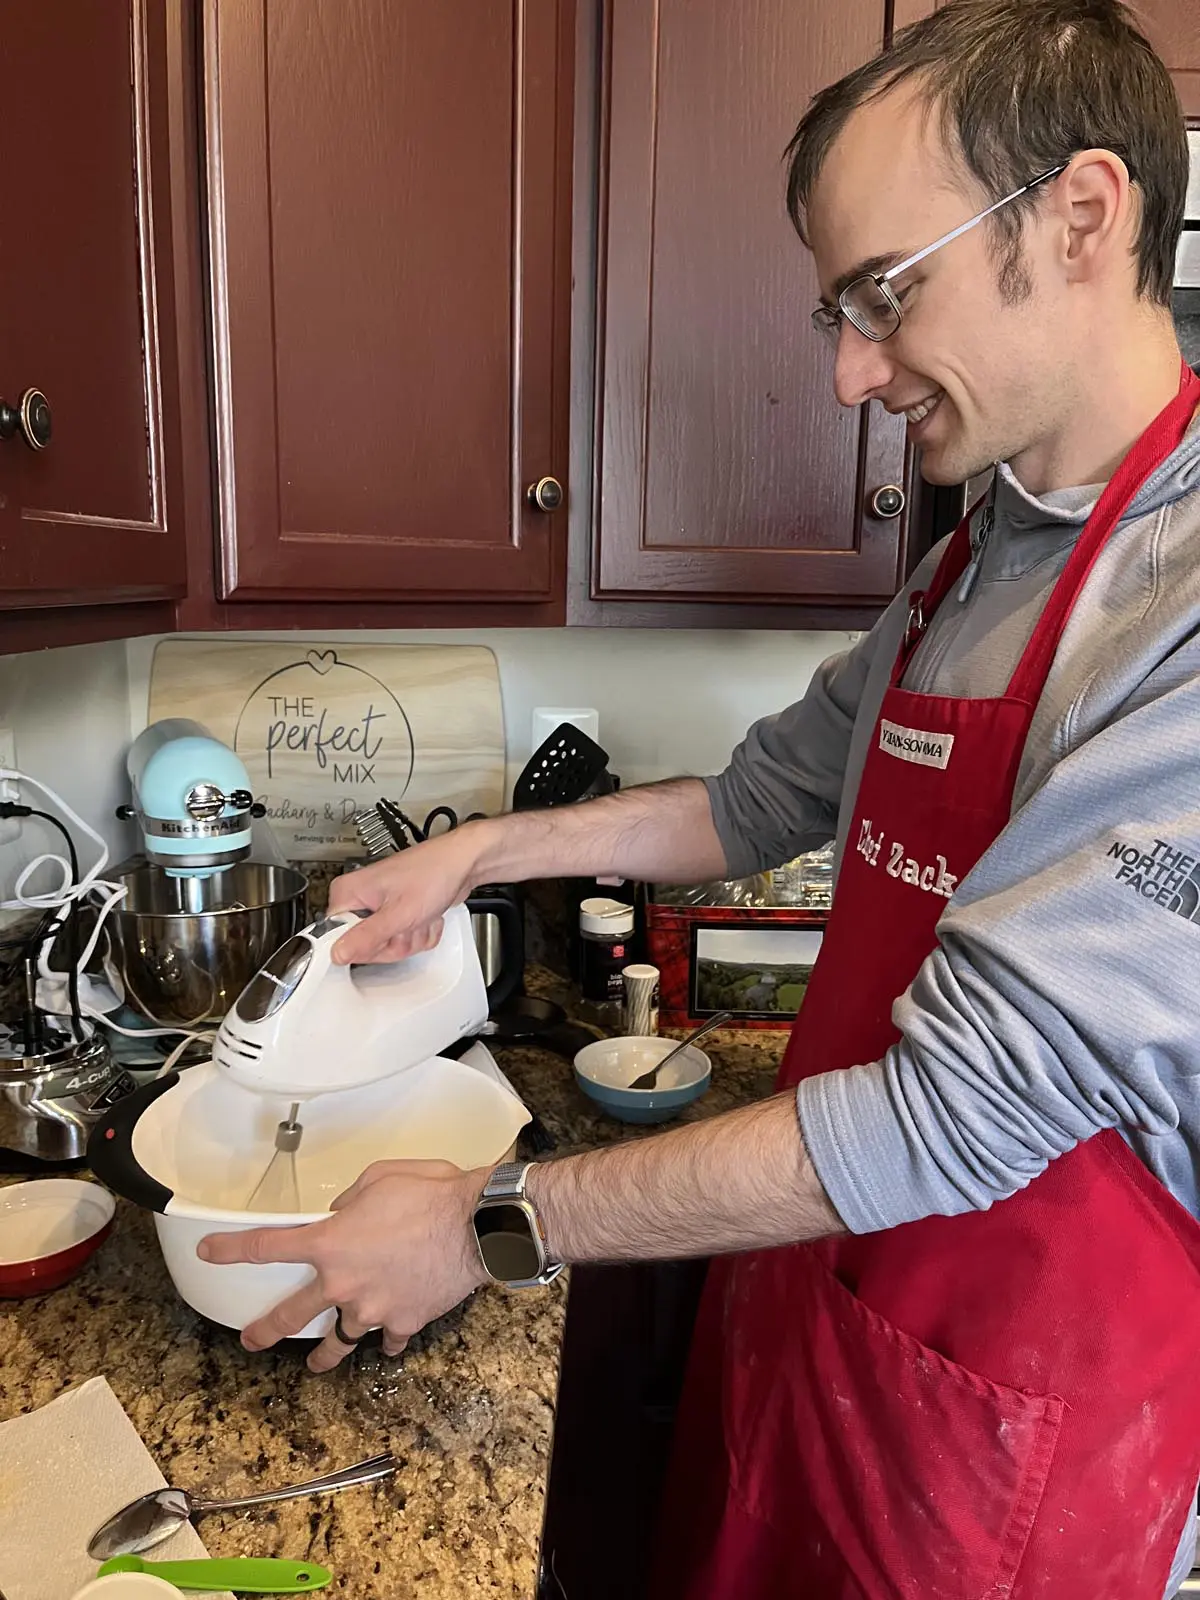
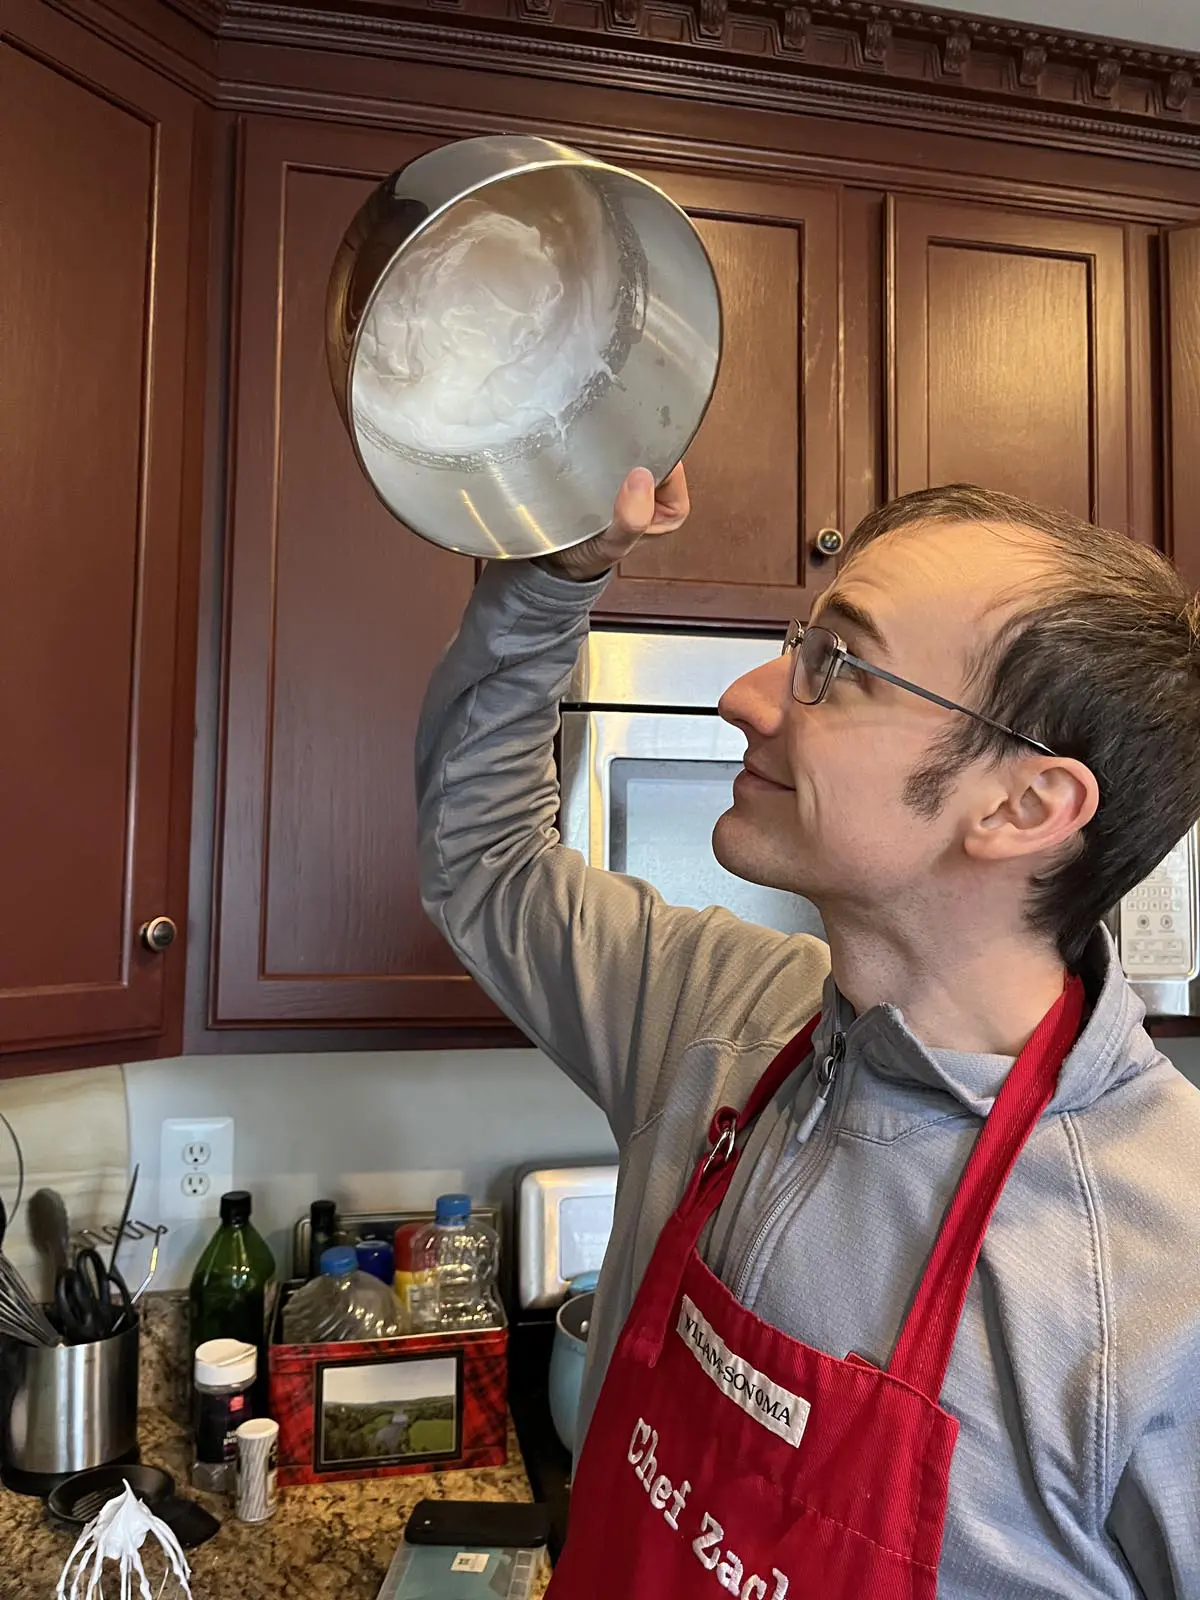
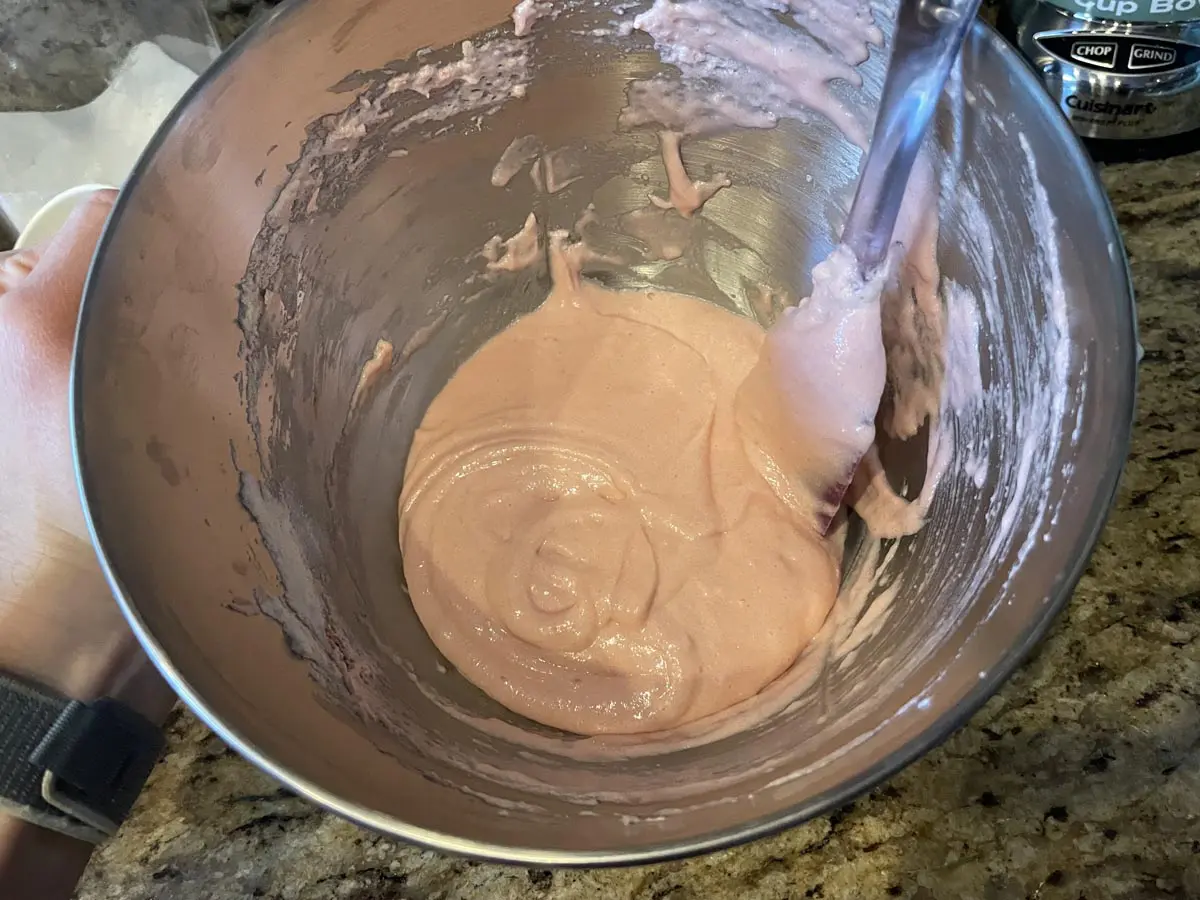
In addition to combining the dry ingredients, an extremely important part of macarons is the egg whites. If you’ve watched any baking show, you’ll likely see contestants turning bowls over the head. This is the dramatic way to test that you’ve achieved the desired stiff peak consistency for your egg whites. Xak, of course, enjoys dramatically testing if the egg whites are perfect. While it seems scary, if you’ve done it right, the egg whites will not budge from the bowl. Once that’s ready, it’s time to add the food coloring of choice. Xak decided to add just a few drops of red to make a very light pink.
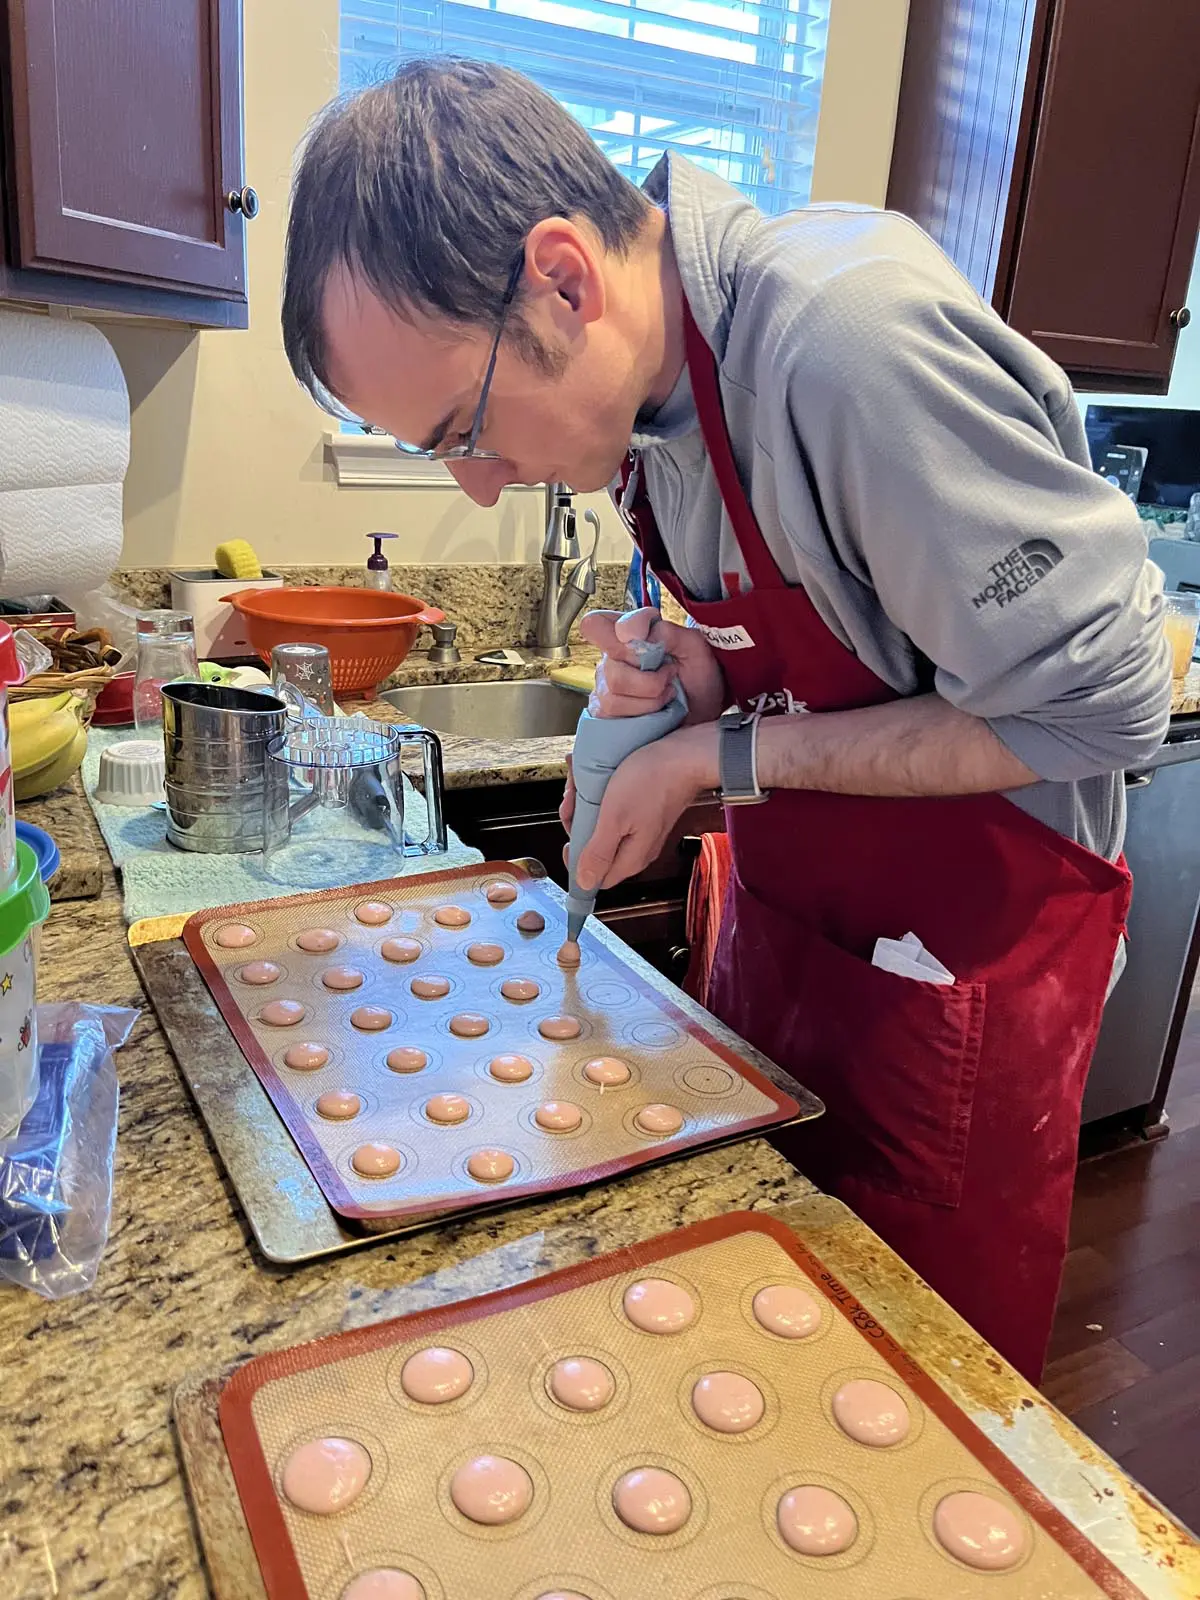
Piping the Batter
Just like every other step, piping the batter can be a bit tricky. If the batter isn’t mixed enough or if it’s too wet, then the macaron won’t retain its circular shape and become unidentified converged lumps (ask me how I know). However, if you overmixed it, you likely won’t see the characteristic macaron “feet”, which is the hole-y layer underneath the cookie shell. This is seriously a Goldilocks situation. You have to get the mixing just right.
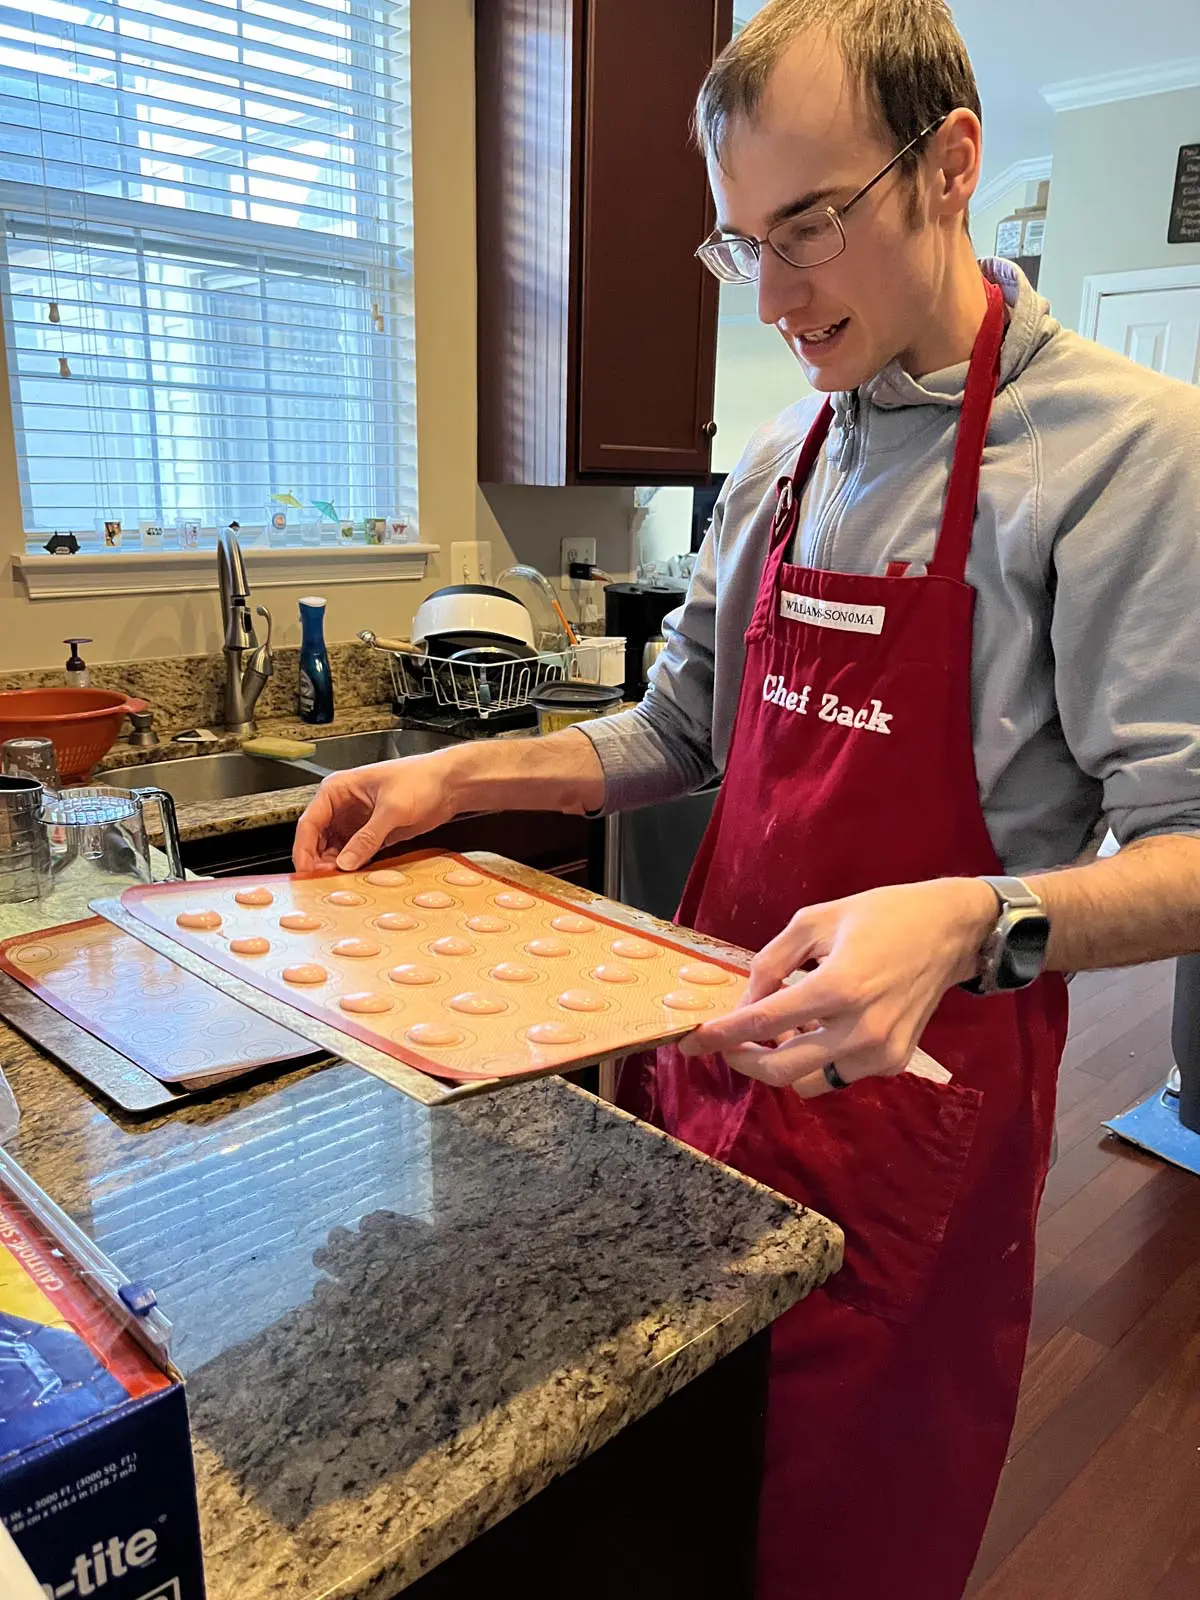
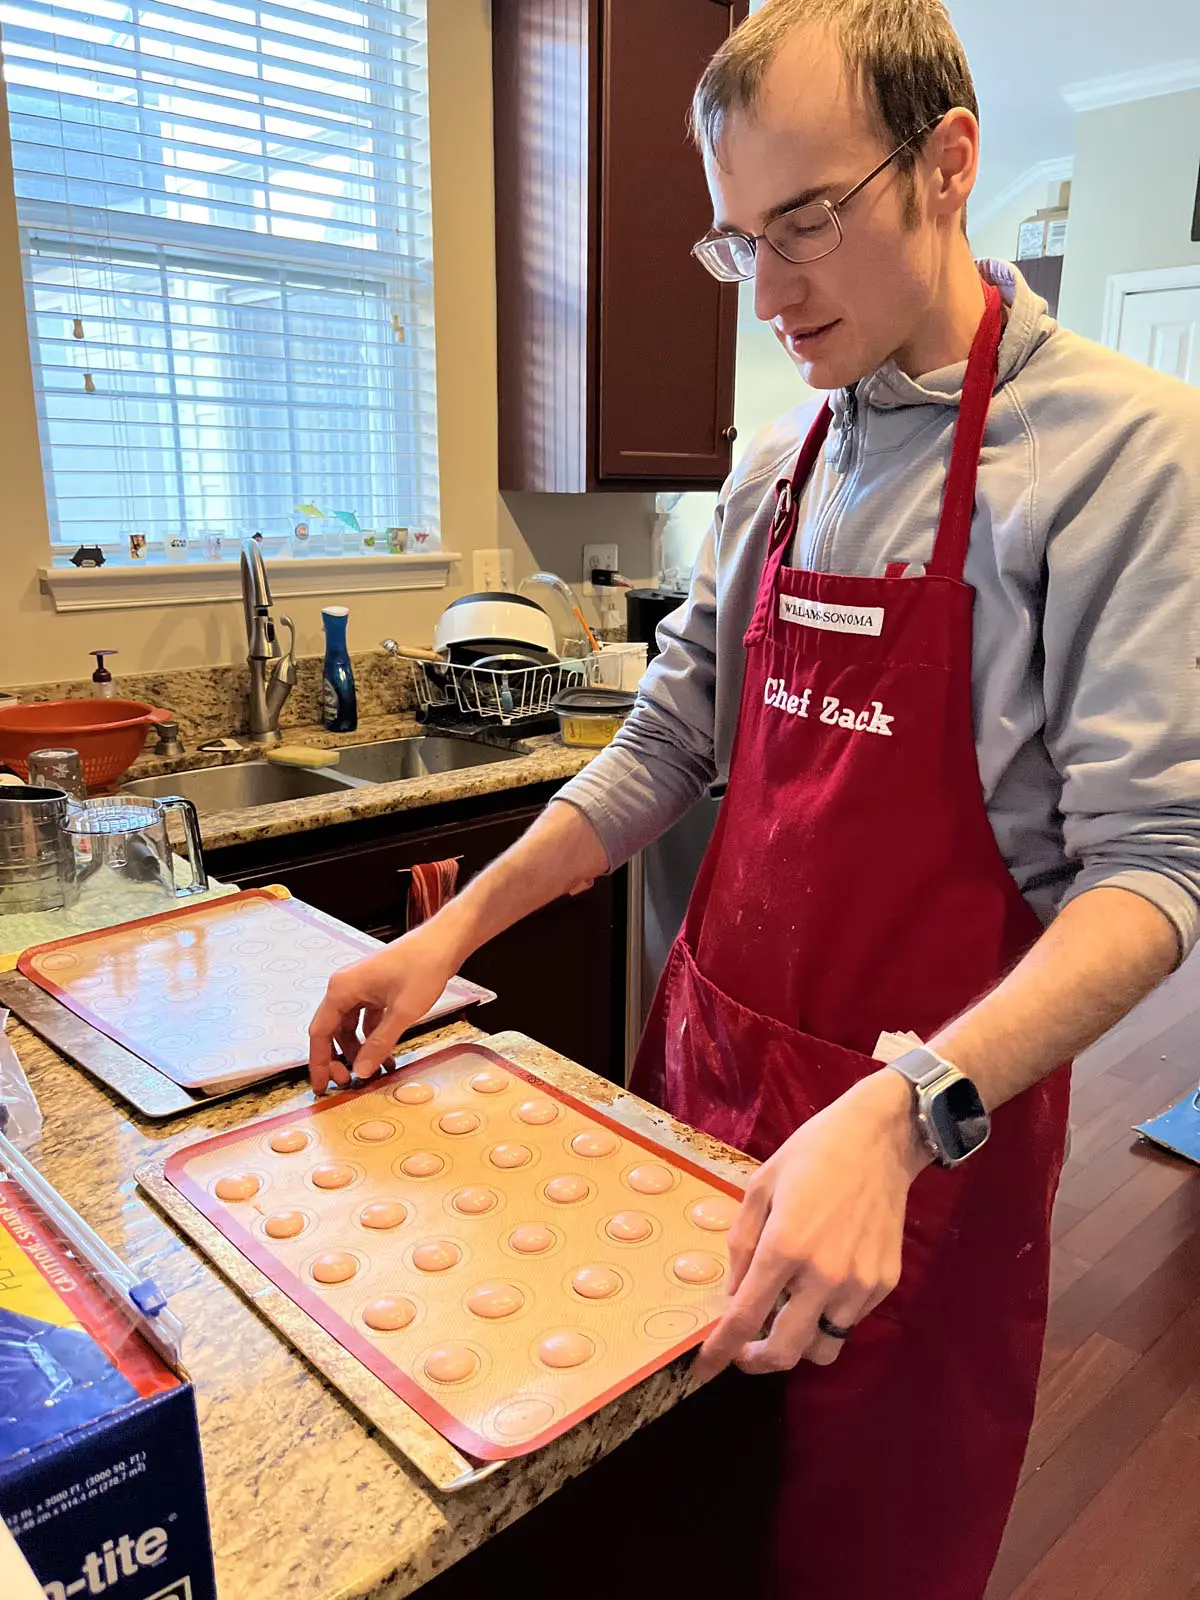
Needless to say, Xak is much better at piping than I am and has no problem doing this task. After our first time failing at making macarons in 2018, I bought us special silicon mats with circular shapes so we could actually pipe out something that looked like a macaron without needing a template. I guess back then I sensed we would be making these together often!
After the piping is done, it’s important to make sure there are no air bubbles in the batter by dropping the baking sheet onto the counter a few times. Air bubbles are the enemy. You can also use a tooth pick to pop the bubbles. Finally, another very important step is to let the macarons sit out before baking so they form a skin which will help with “feet” formation. Macarons are all about patience and precision.

Baking and Buttercream
While the cookies don’t actually need that long to bake, this is the most painful part for me. That’s because if you screwed up any of the previous steps, you have to wait about 15 minutes before you find out. When they’re done, it’s also important to not rip them off the sheet immediately since the cookies might stick if they’re not a little cool (yep, another painful lesson learned).
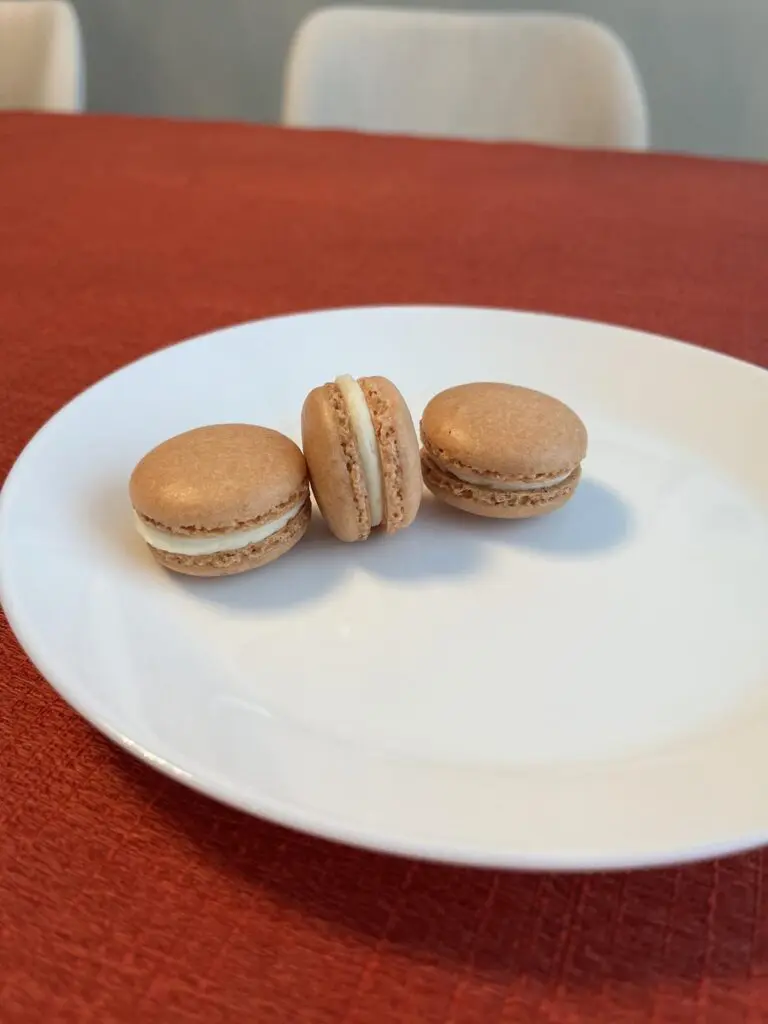
After the cookies are finished cooling on a wire rack, it’s time for the macaron filling. We chose vanilla buttercream since it’s a neutral but still yummy flavor. I’m not a huge frosting fan but chocolate and vanilla buttercream are exceptions. I could probably eat an entire bowl of it!


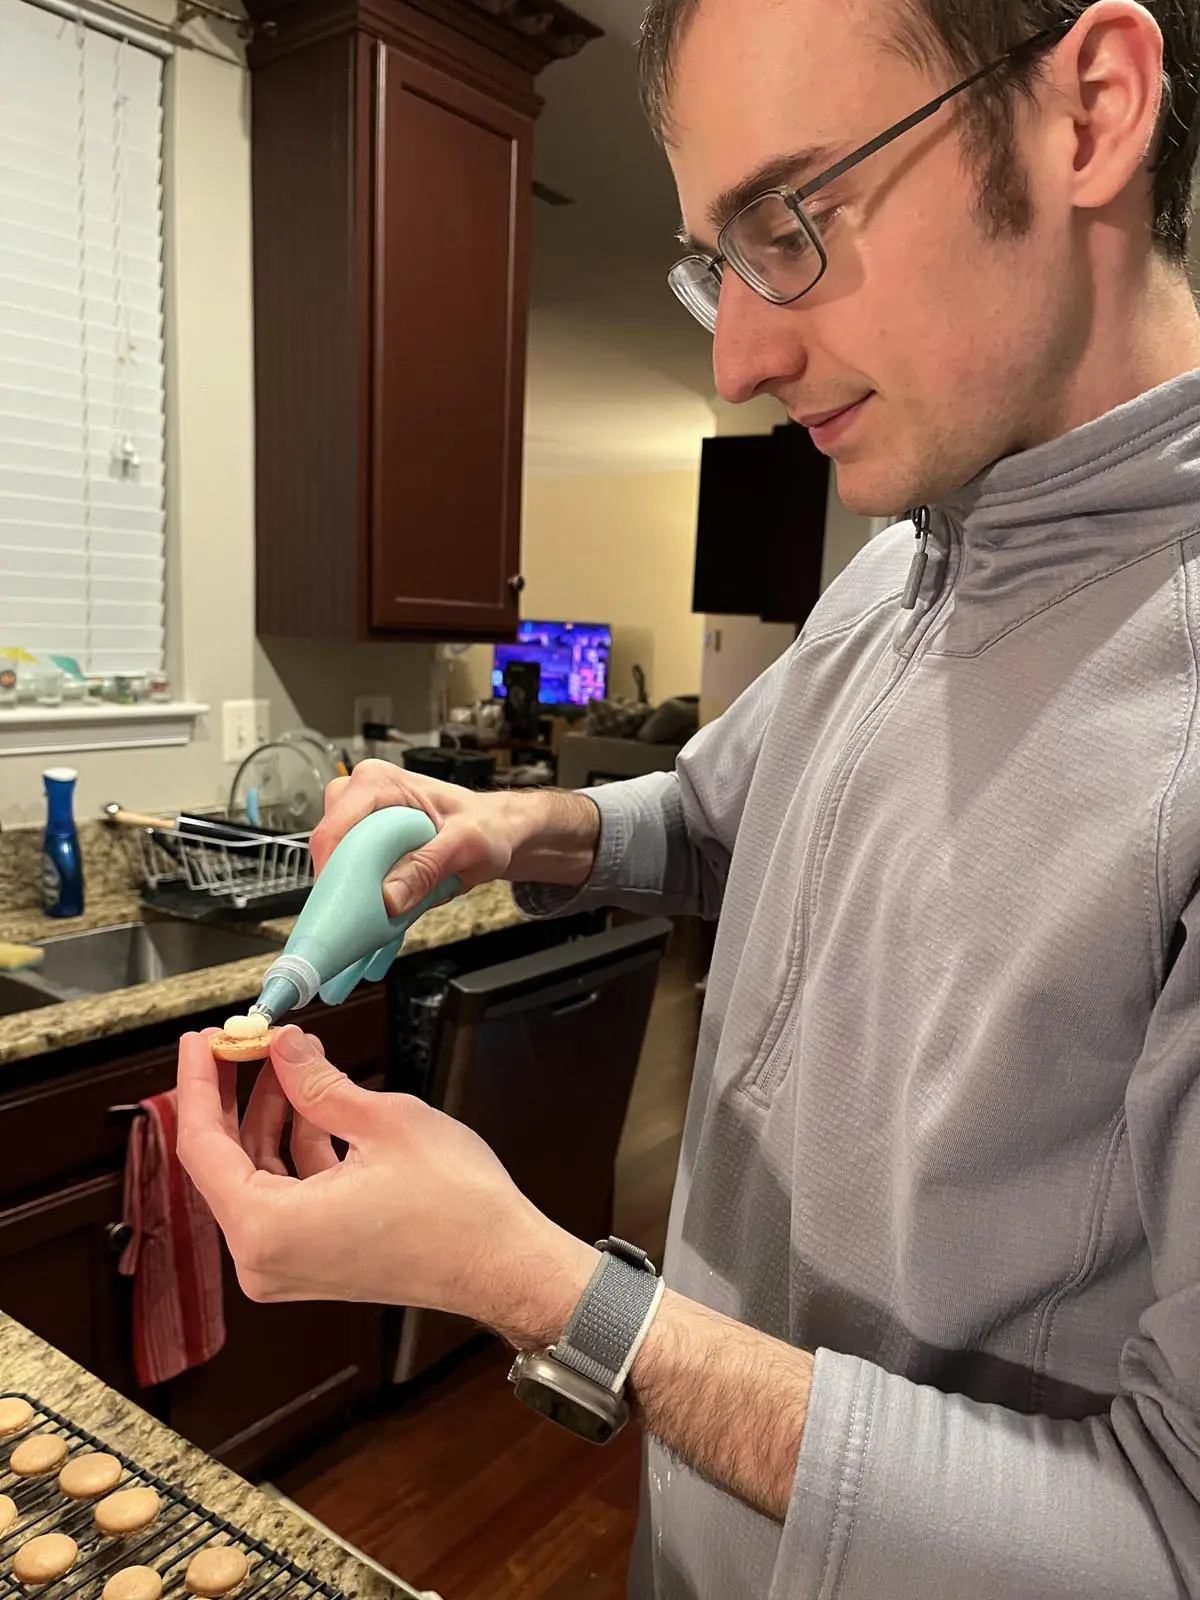
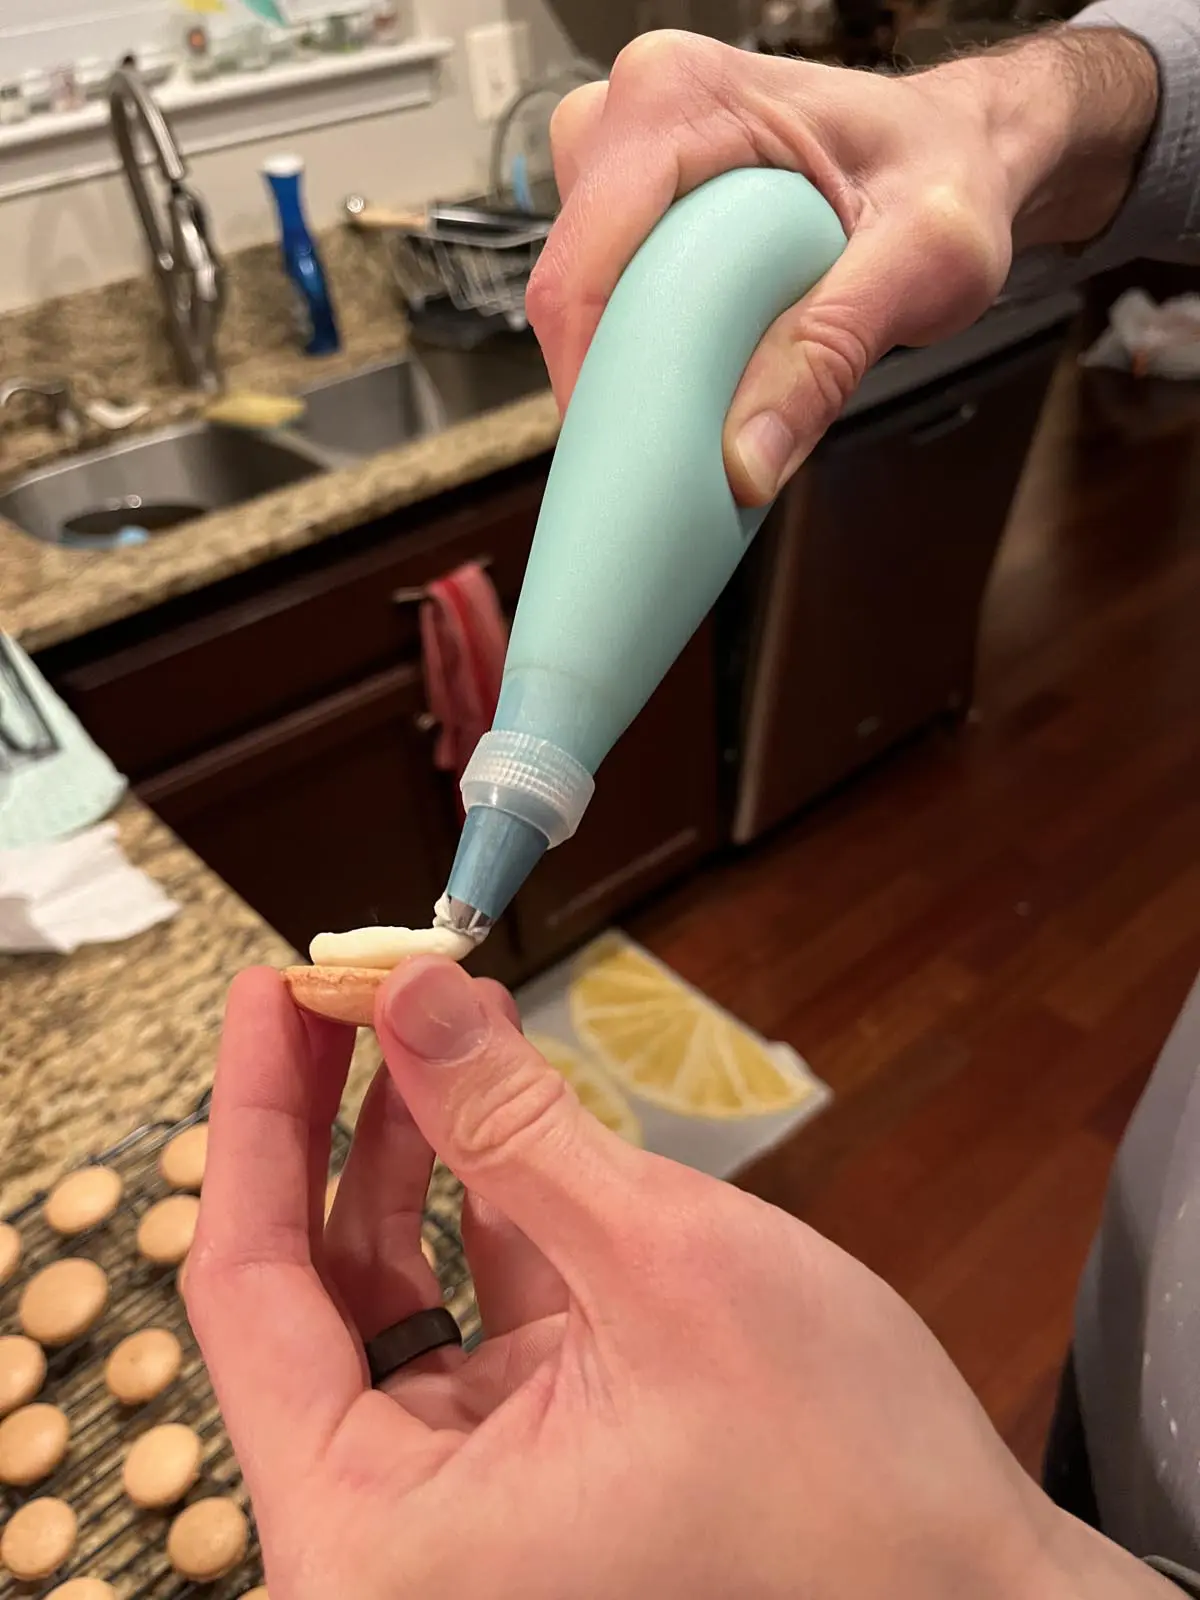
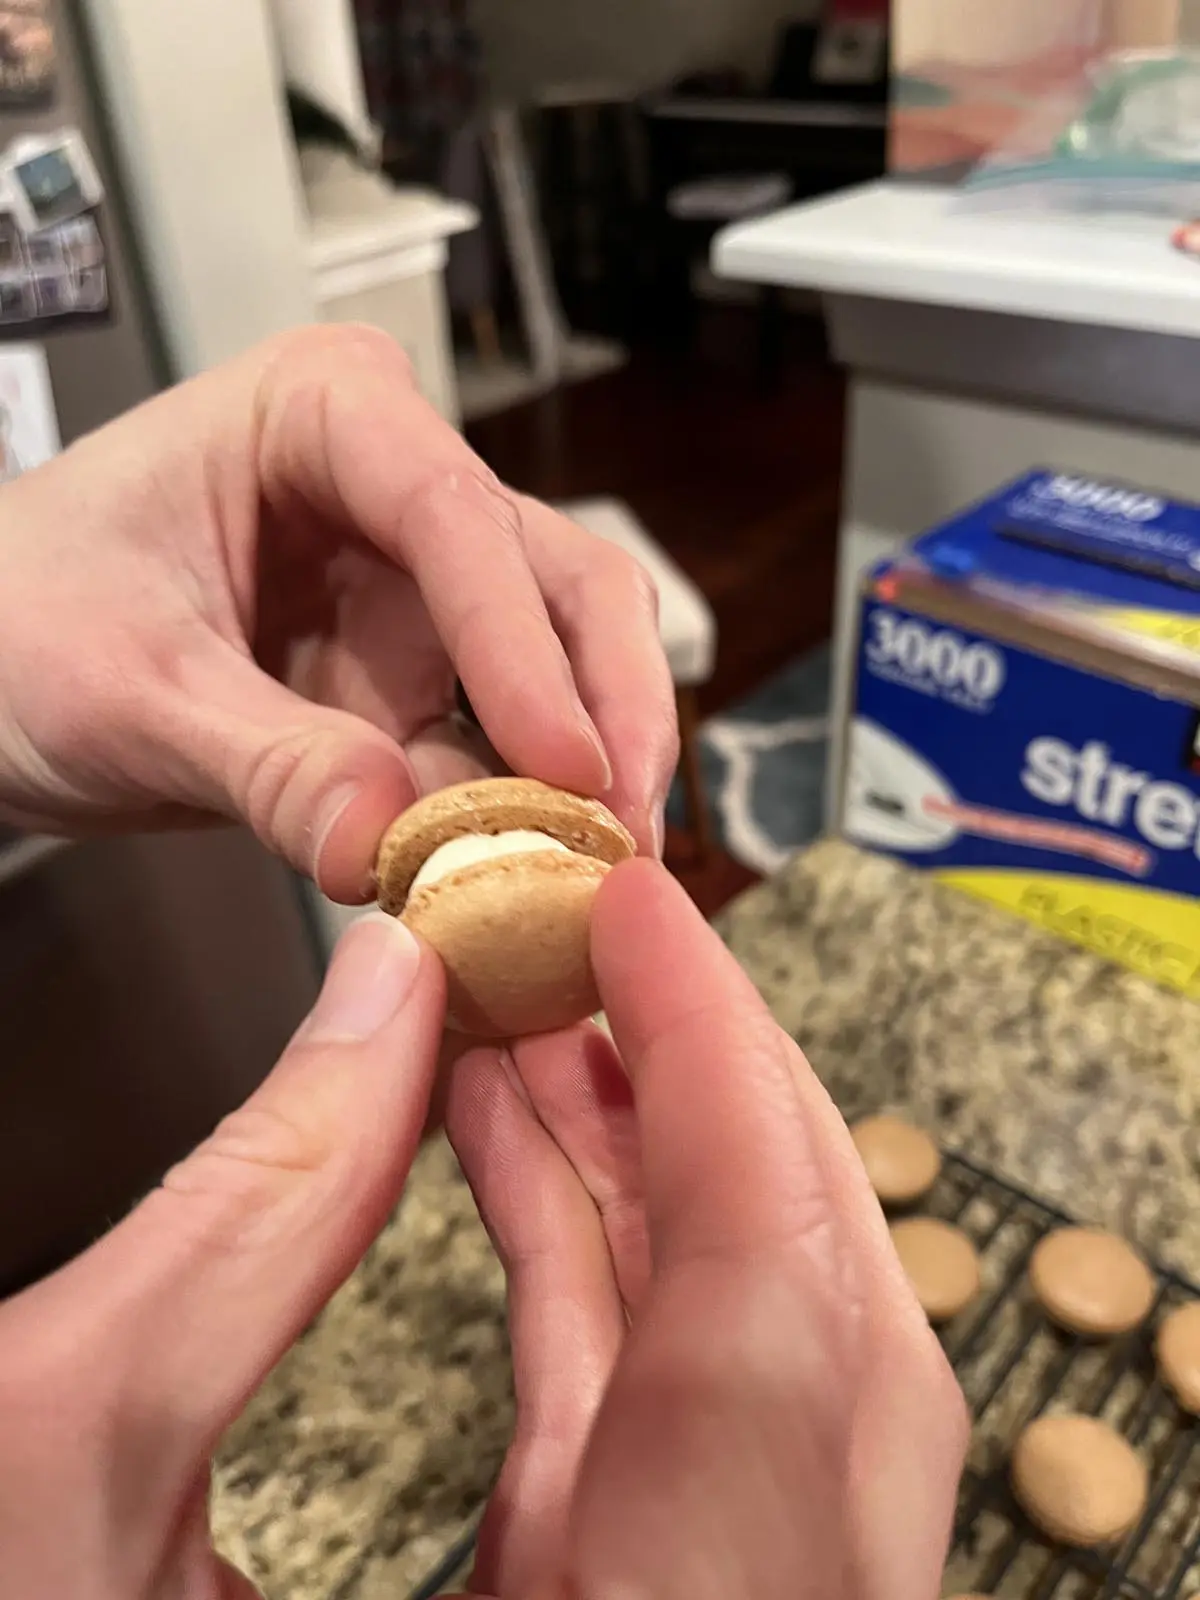

Filling the macarons does take time since you want to select cookies that look similar in shape and size to each other. While the silicon mats help with overall shape consistency, there are bound to be cookies that aren’t completely uniform. The other hard part about this is to not eat all the buttercream and cookies while you’re constructing the sandwich.
While our nephew may or may not appreciate all the time and effort it takes to make macarons, I certainly do! Although we made these for the upcoming tea party, it’s always a good idea to sample a few to make sure they’re delicious. Trust me, this is the most important step.