Mini Pavlovas
As a cozy mystery fan and avid Hallmark mystery movie watcher, I was very eager to celebrate the release of the new Hannah Swensen Hallmark film “A Zest for Death.” It’s based on the Joanne Fluke book, Lemon Meringue Pie Murdery Mystery, and in my opinion, the best way to celebrate is to have a murder mystery “Casual tea” featuring lemon and meringue based desserts. While Xak and I could have just made a lemon meringue pie, I really prefer having mini desserts during afternoon tea. I already decided on lemon bars to represent the lemon, but I wasn’t quite sure what to do for the meringue.
Although Xak and I both love macarons (a meringue based dessert), we were interested in trying something new for this event. As I continued to research, I found a recipe for “mini pavlovas” on the RecipeTin Eat’s blog. Since I have truly loved everything I have ever made from this site, I thought, why not?
Meringues and Pavlovas
Most meringue based desserts contain egg whites with sugar, and can include additional ingredients based on the recipe. There are different types of meringues including French, Swiss, Italian which are produced using various methods of boiling sugar syrup, whisking egg whites over heat, or beating egg whites. Meringues are gluten free and can also be made vegan (using aquafaba aka chickpea water), which means almost everyone can enjoy them.
A pavlova is a meringue based dessert with a crisp exterior and a soft, marshmallowy interior. I was introduced to pavlovas while watching Great British Bake Off. To me, it looked like a cracked, white, delicate cake of air topped with cream and a lot of colorful fruit. They were pretty, but I couldn’t imagine eating very much of it.
I’m not a big marshmallow person. I like it in the occasional s’more, in my cup of hot chocolate, and on top of my Thanksgiving sweet potatoes. Other than that, what do people really use marshmallows for? Xak, being a lover of all things s’more and hot chocolate, is a huge marshmallow fan. We always have marshmallows (and grahams) in our pantry. To me, it’s more of a topping than a standalone dessert. These are fighting words in our household (sorry, Xak).
In addition to my ultimate trust in RecipeTin Eats recipes, I had another reason for wanting to try to make a pavlova. I actually have eaten a pavlova before once at a Leesburg afternoon tea room in 2019. It was the best thing I ate that day. Very delicate, very sweet, and made me wanting more. Unfortunately there was only one pavlova for each of us, and since then I haven’t had a pavlova again. I was pretty excited to finally get another taste at our “Casual Tea” party.
Preparing the Mini Pavlovas
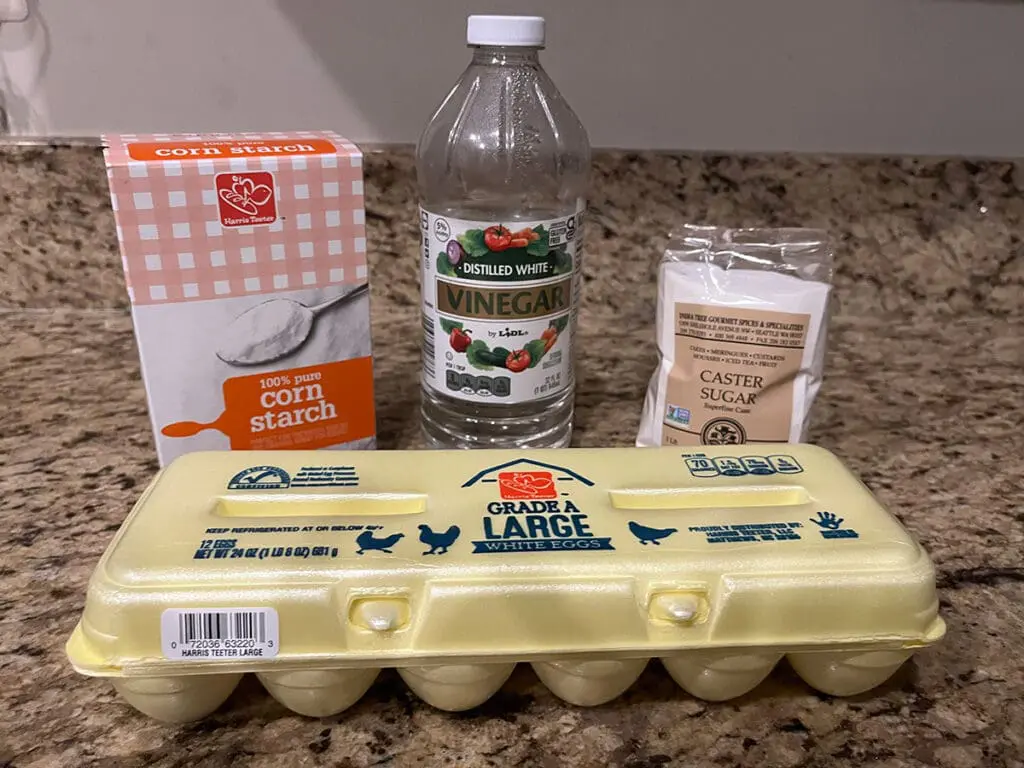
Mini Pavlova Ingredients
The recipe didn’t seem too complicated. In fact, there are only four ingredients for the pavlovas: egg whites, caster sugar, cornstarch, and white vinegar. Quite the contrast from the 17 ingredient spice cake I like to make. I made sure to read the recipe about 6 times. Yep, still only four ingredients.
The good news about reading the recipe 6 times was knowing that this recipe is not quick. The recipe requires waiting overnight for cooling, so it’s best to start this at night time, or on a day when you don’t need to use the oven for anything else.
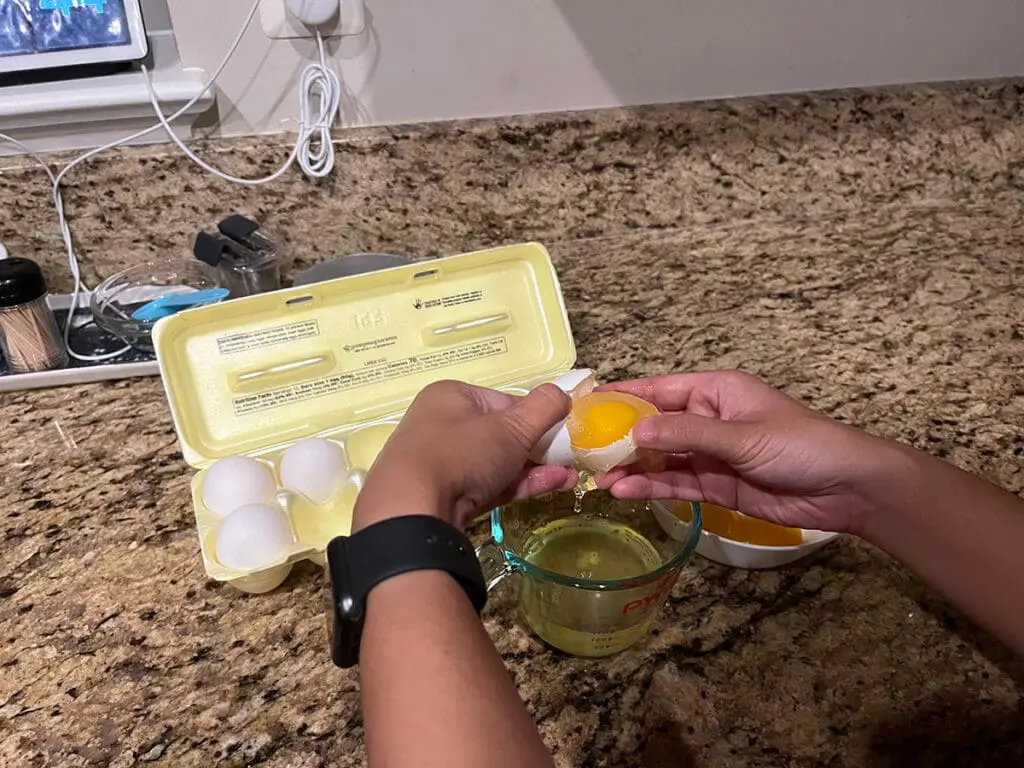
Separating the Eggs
The first step for making the pavlovas involves separating eggs. Xak and I separate eggs differently. I do the method of cracking the egg and then bouncing the egg yolk between the two shells and allowing the egg white to slip into a bowl. Xak likes to crack the egg and catch the yolk between his hands. Whichever method you choose will require a ton of concentration because you can’t let any egg yolk get mixed into the white. Separating the eggs alone took about 10 minutes just because I wanted to make sure I didn’t mess up this crucial step.
Next, it was time to let the egg whites sit at room temperature for about 30 minutes. This is the time to wash the dishes in the sink… or watch a quick Clone Wars episode depending on how responsible I’m feeling. Either way, it’s a good idea to set a timer so you don’t forget.
Beating the Egg whites
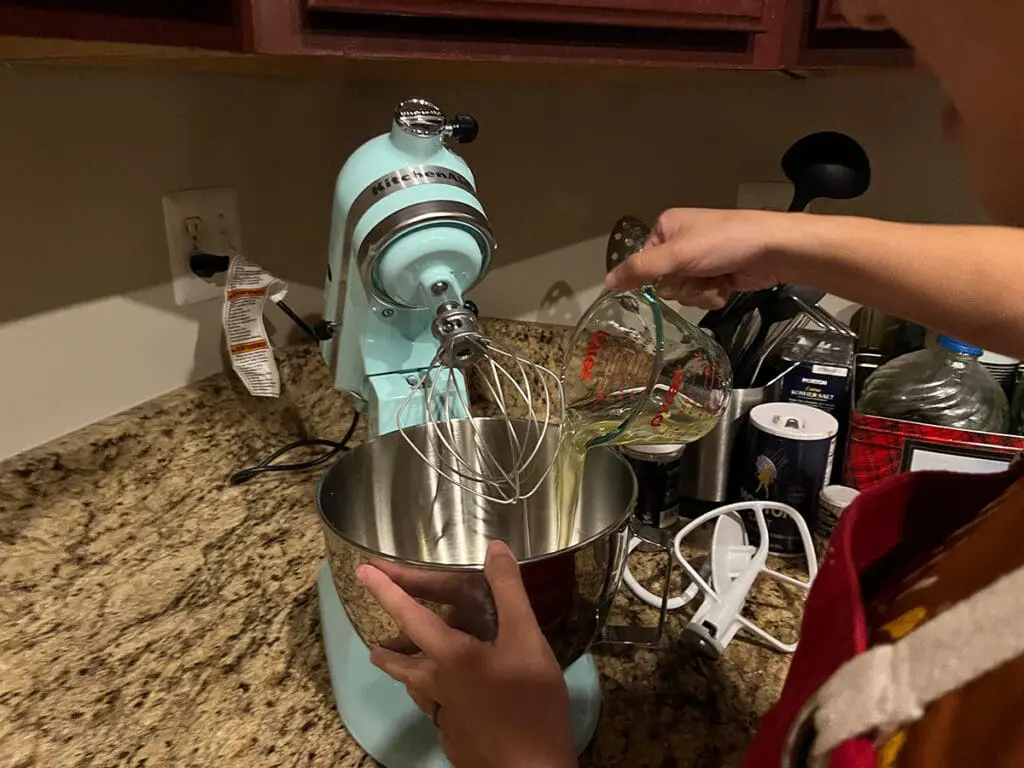
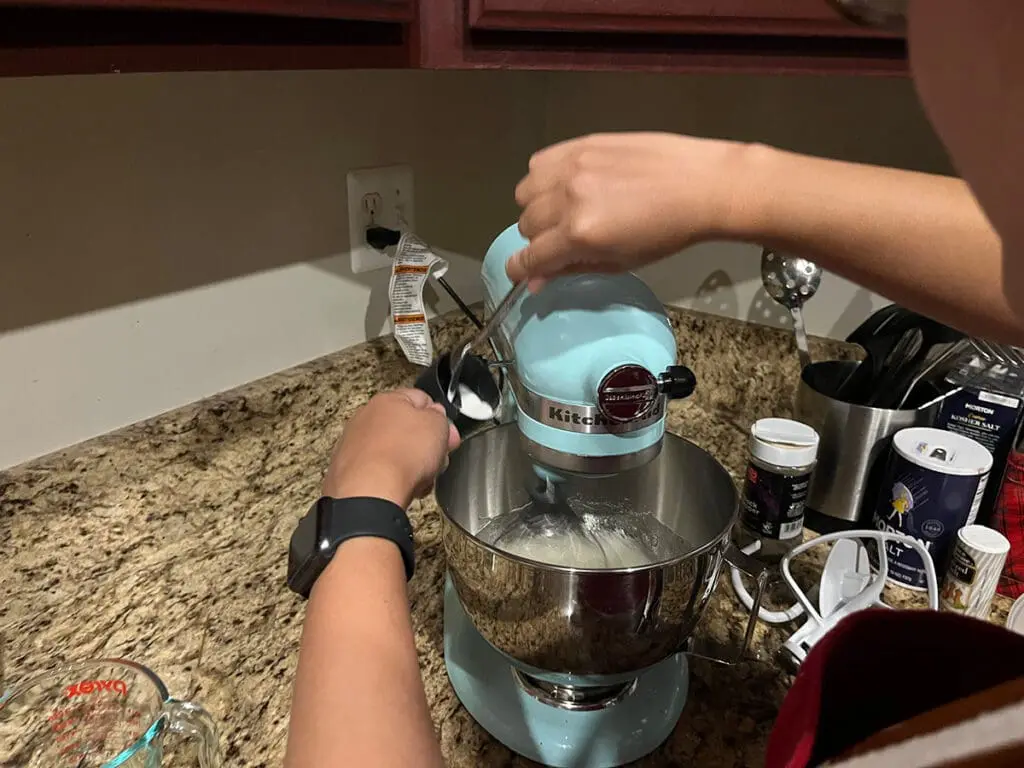
The next step is beating the egg whites to the point where they go from liquid to stiff peaks. This step makes me so grateful that we have a stand mixer. As you beat the eggs on high, you slowly add in spoonfuls of sugar and finally the vinegar and cornstarch. This process takes quite a while, about 8-10 minutes or so of continuous mixing. It’s pretty loud, but it’s also hypnotizing to watch.

Pouring the egg whites into the stand mixer Adding sugar slowly as the mixer beats the eggs The egg whites and sugar mixed together for over 8 minutes!
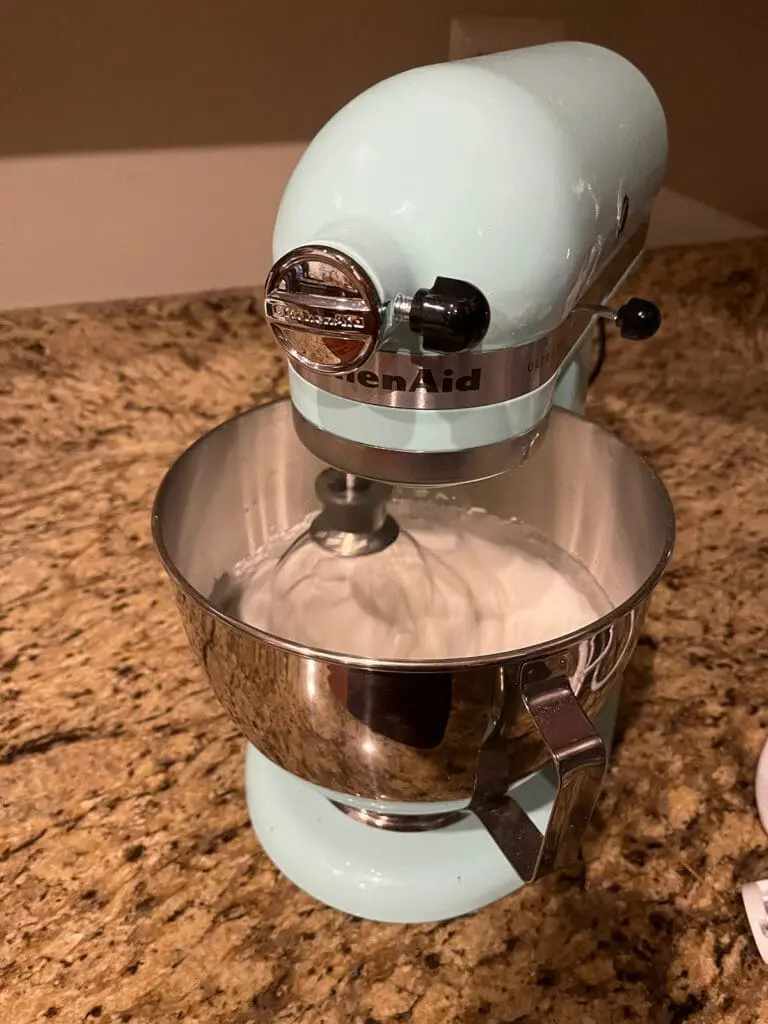
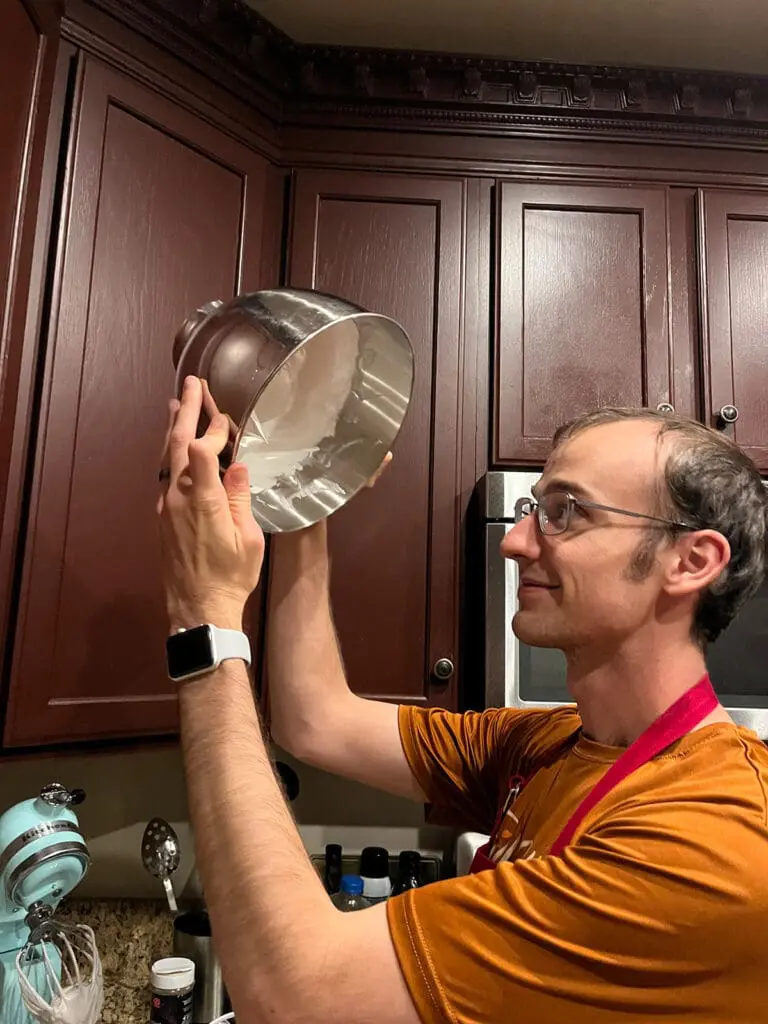
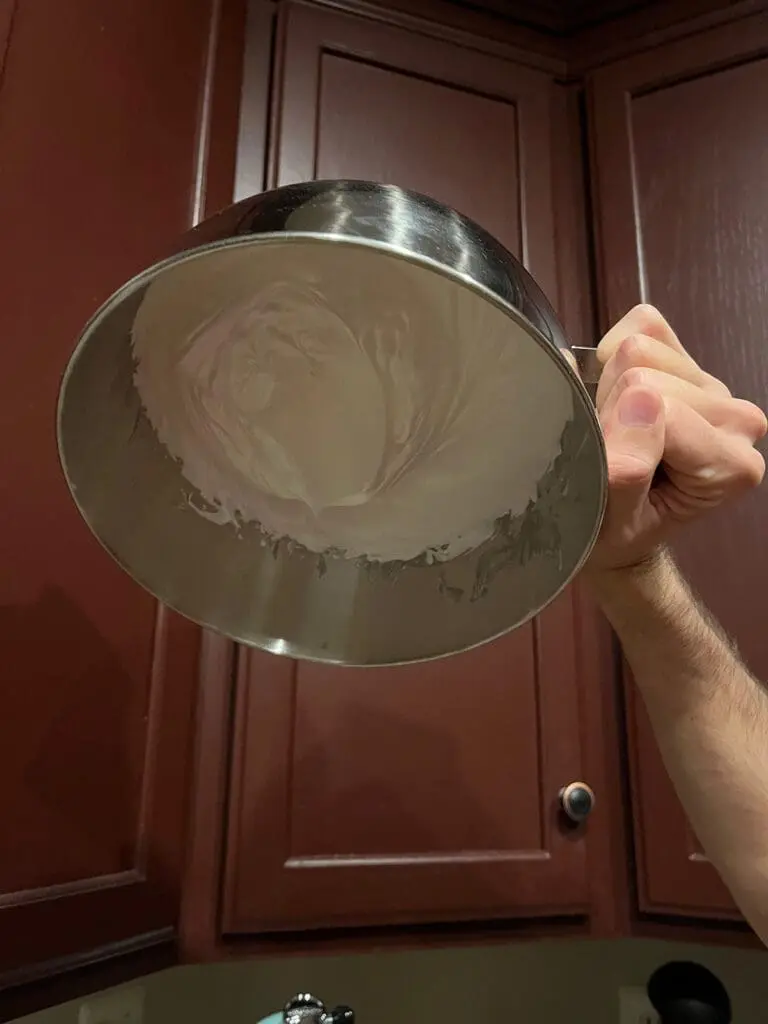
Once the egg whites looked like a white fluffy cloud, we wanted to try the “flip the bowl over your head” test. Xak bravely attempted the bowl flip and I eggs-amined his head closely. Looks like we eggs-ecuted this step well! (ok I’m done with egg puns)
Xak cautiously eyeing the egg mixture as I egg him on to raise it fully over his head. Egg mixture completely in tact even when bowl is completely flipped! Success
Piping the Egg Mixture
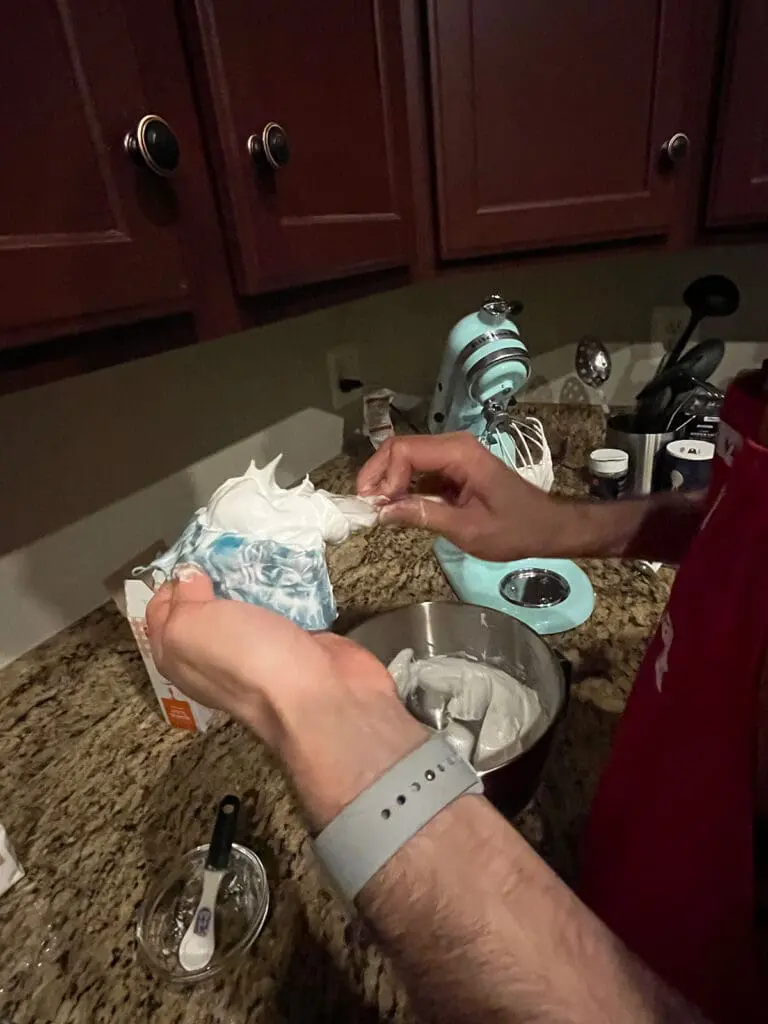
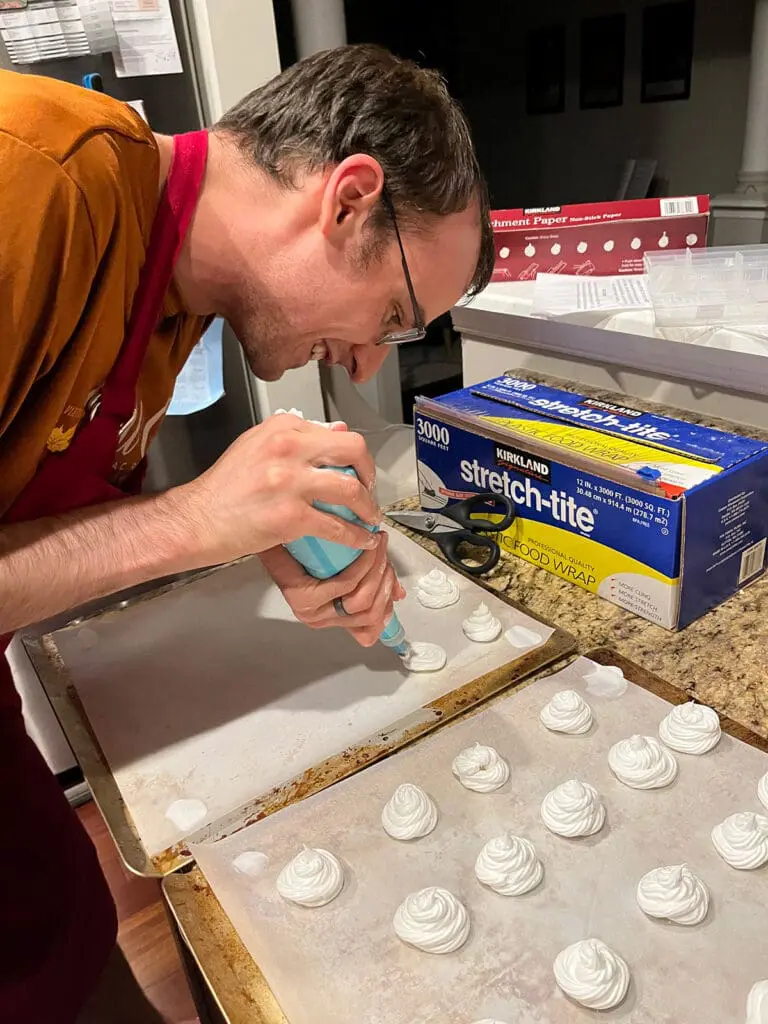
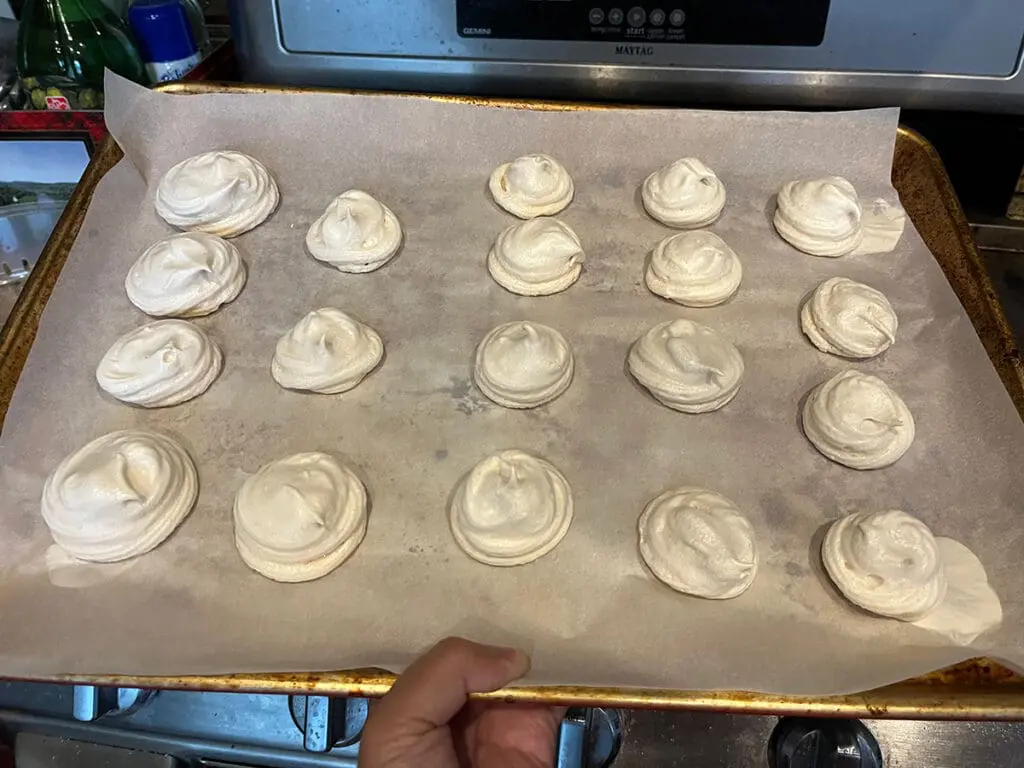
After verifying that the egg whites were well beaten, it was time to pipe the egg white sugar mixture into little mounds on a baking sheet. Xak offered to handle the piping since I’m not the most skilled at piping or even getting mixtures into a piping bag without making a huge mess. Unfortunately, the piping set that Xak uses has much smaller tips than what is shown in the recipe. This meant that our “mini pavlovas” would likely be extremely petite pavlovas and wouldn’t be able to hold an abundance of fruit. We would have to be selective for our toppings.
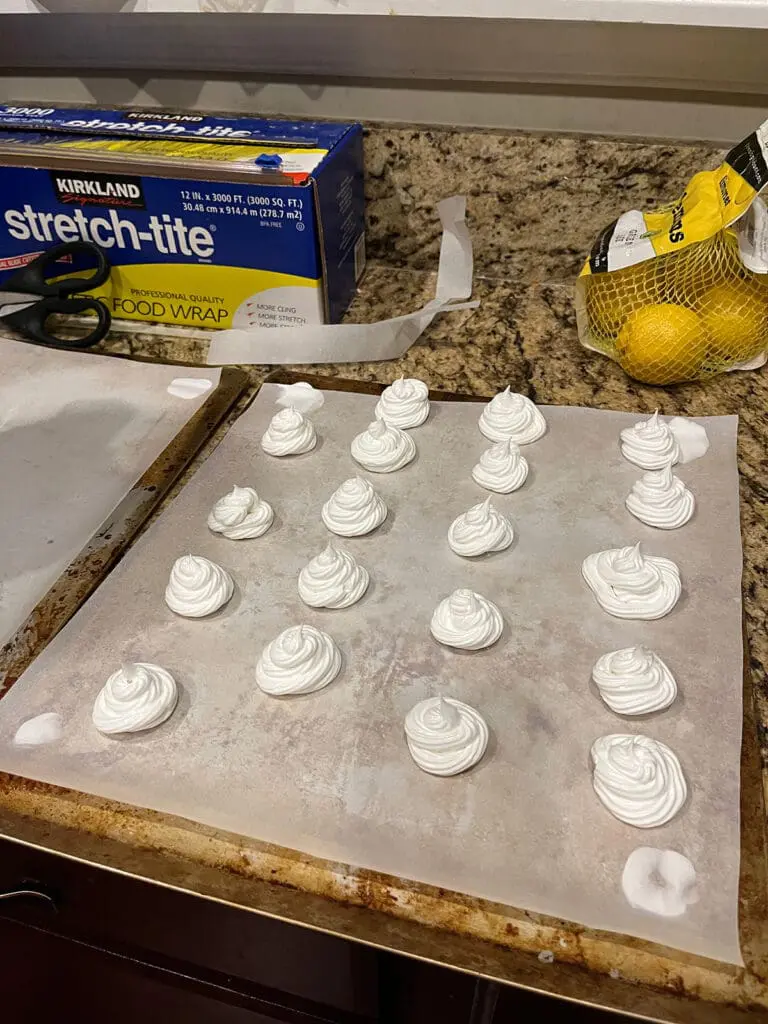
Xak putting the egg/sugar mixture into a piping bag Piping the mini pavlovas onto baking sheets. Way more than we expected The pavlovas were quite petite, but would hopefully still be tasty.
Baking and Cooling
Since our pavlovas were much smaller than expected, piping took quite a bit more time than we anticipated. However once we were done, we were able to stick them into the preheated oven. The next step is to actually immediately turn the oven down and let it bake for an hour and a half before letting it cool in the oven over night. While I could have preset my oven to turn off after an hour and a half and gone to bed, this was my first time making the recipe and I wanted to make sure that the pavlovas would be dry enough… meaning I needed to stay up to test the pavlovas. (See what I mean about this not being a quick recipe?)
After the hour and a half timer went off, I checked the pavlovas to make sure they were the right consistency (dry/not sticky). They seemed ok, so now it was time to leave them in the turned off oven and head to bed. The next day would be making the chicken sandwiches, the cucumber sandwiches, the lemon bars, the scones, creating the cream, selecting the fruit, and then finally our tea party!
Decorating with Whipped Cream and Fruit
Afternoon tea parties at home are always exciting for me. I usually bolt out of bed the moment I wake up so I can get all the food ready to go for tea time. In this case, I was extremely excited to see how our new dessert was doing. When Xak and I ran down the stairs and opened the oven, the pavlovas looked quite cute and cool to the touch. It only seemed right to try them… to make sure they tasted good enough for the tea, of course. We both popped one into our mouth.
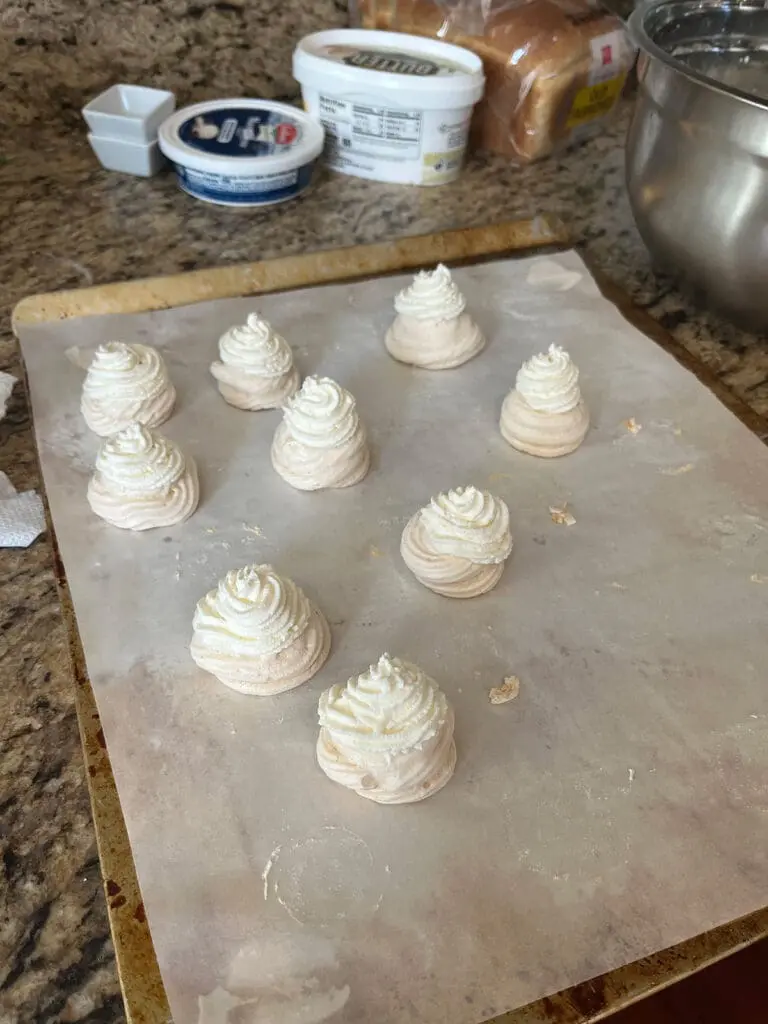
Who knew egg whites and sugar could taste so good! The best part though was knowing there was more to add to the pavlova. As I proceeded with making the lemon bars, Xak started working on the stabilized whipped cream. This includes heavy cream, mascarpone, caster sugar, and vanilla extract. The whipped cream recipe is similar to what we used for our mini cheesecakes, but the mascarpone makes it a bit more sturdy and perfect for piling on little pieces of fruit. After Xak finished with the cream (and a few sample tastes), he got the piping bag out yet again to make little swirls on top of 9 individual pavlovas for today’s tea. The others were put away in an airtight container for future teas throughout the week.
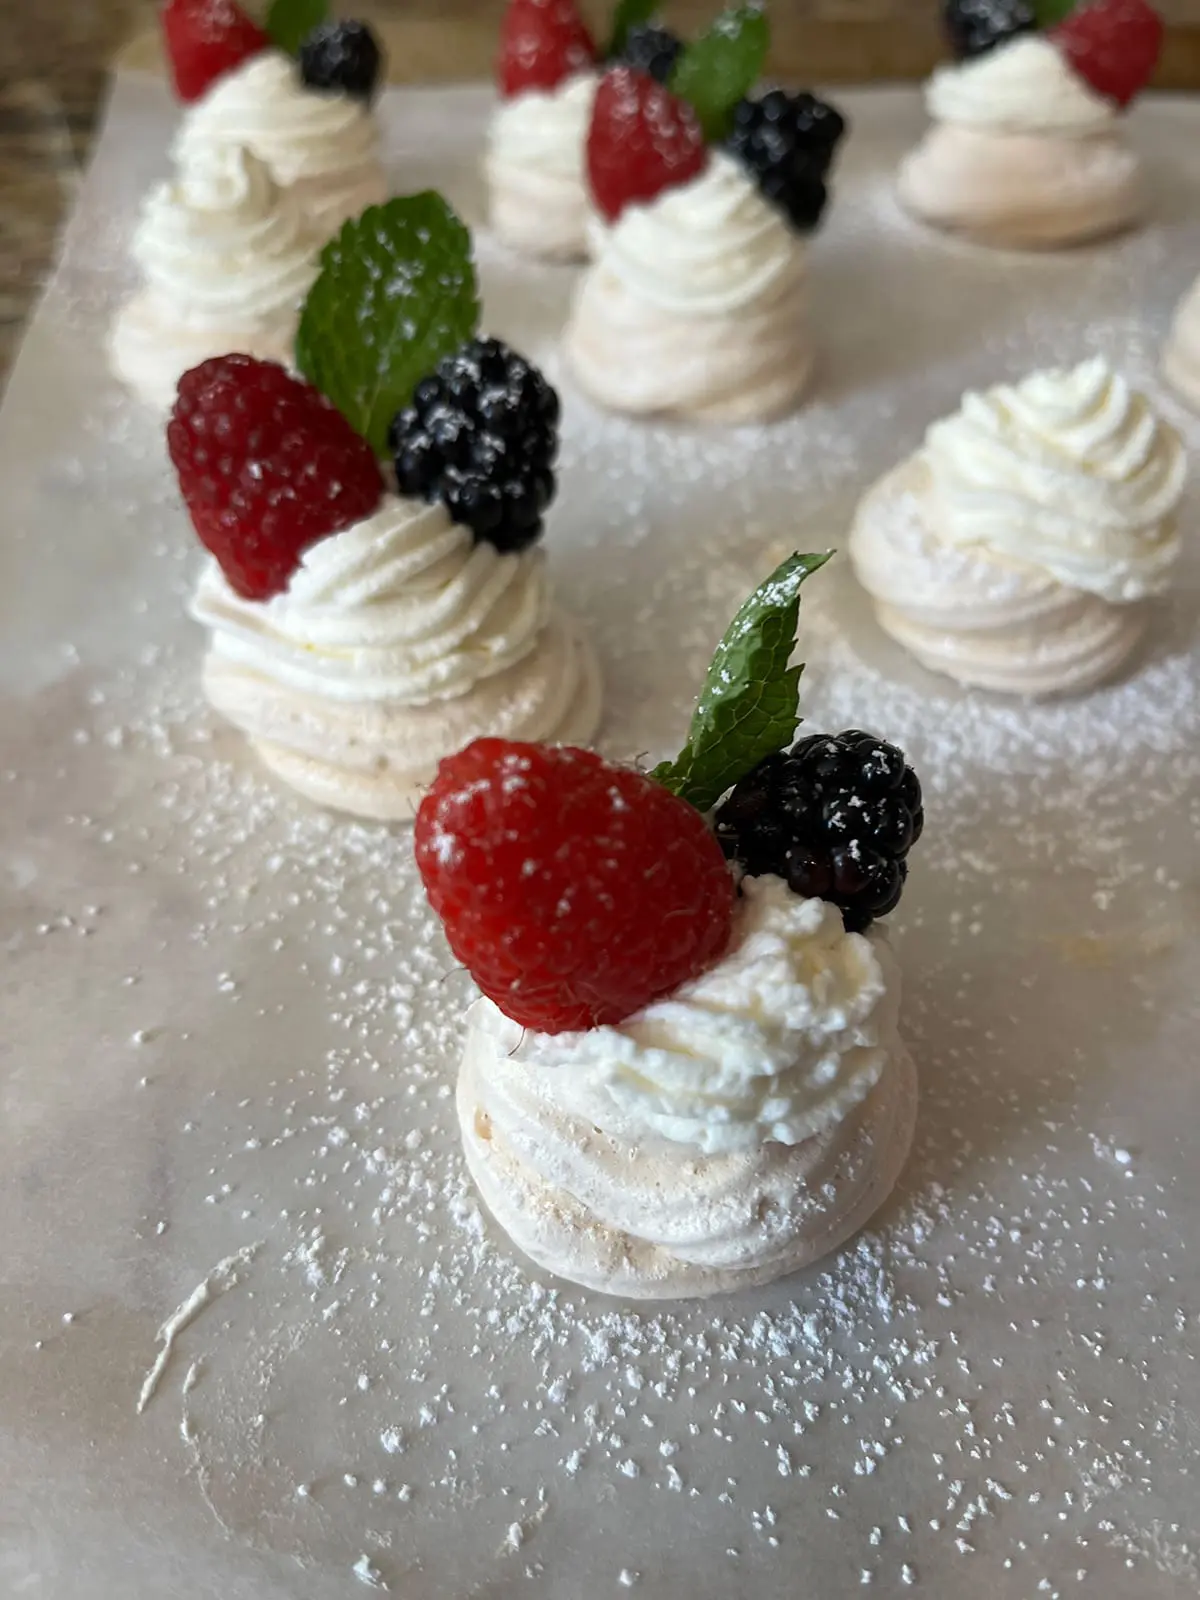
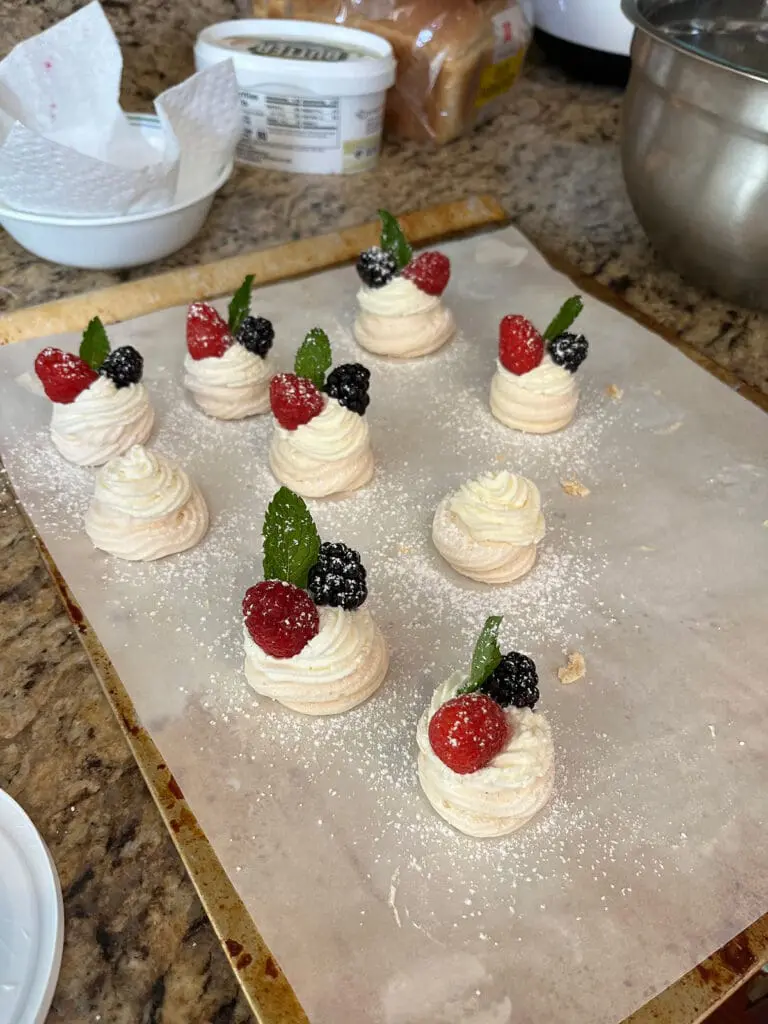
After piping the cream, Xak then selected a few pieces of fruit to put on top. Based on the size of the pavlova, we wouldn’t be able to have all the fruit we wanted, but there was still room for one raspberry and one blackberry and a sprig of mint.
Xak piped the home made whipped cream on top of our tea time pavlovas Fruit and a sprig of mint were added to the pavlova with a dusting of sugar. The mini pavlovas are ready to be added to our tea tray!
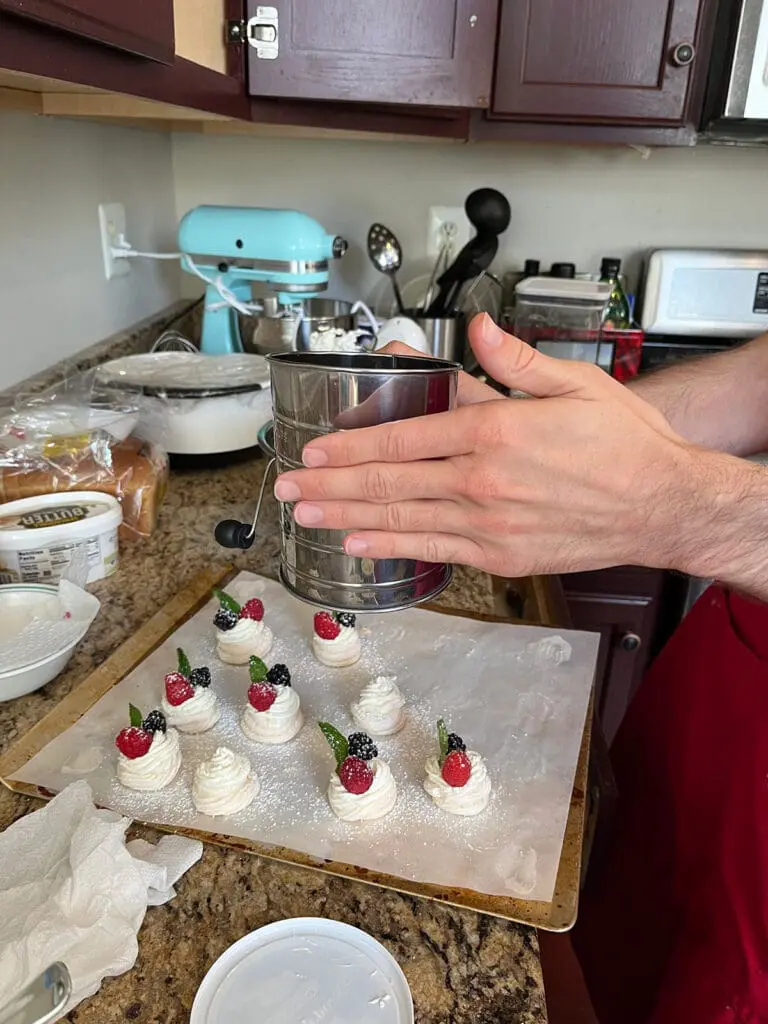
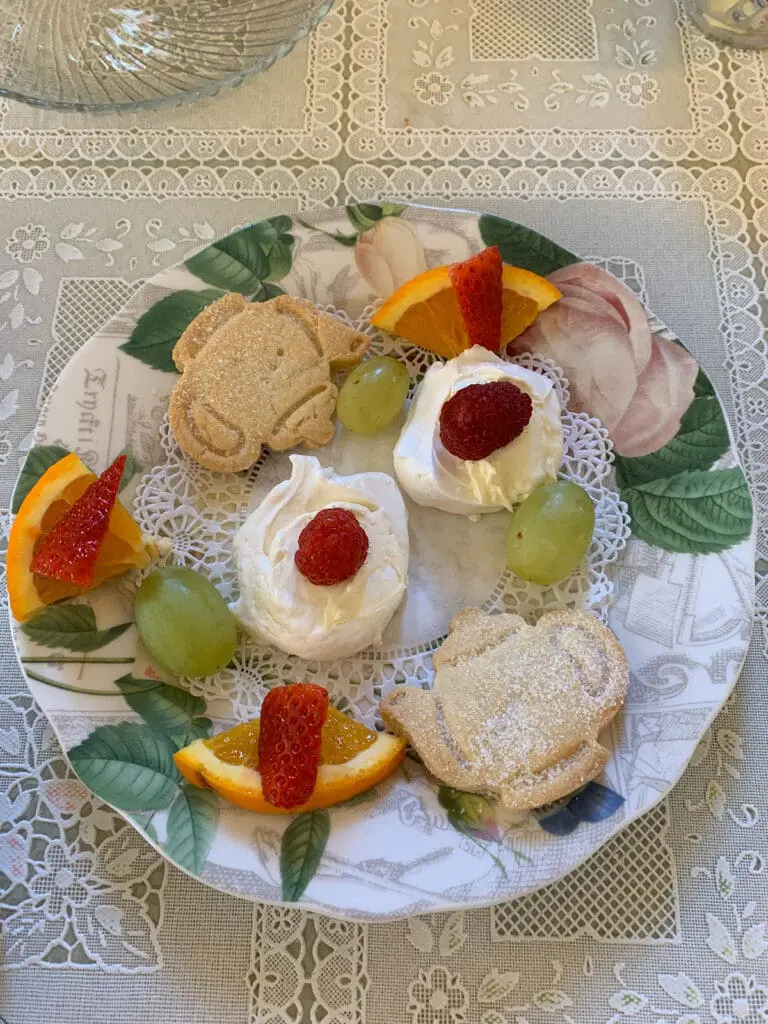
After a dusting of icing sugar on top, the pavlovas were ready to go and our tea could begin shortly where we would finally be able to taste the finished product. Our murder mystery “casual tea” was almost ready to begin!
Recipe Rating and Reviews
Recipe Used: https://www.recipetineats.com/mini-pavlovas/
“Finally an appropriate setting where I’m able to stuff my mouth with one of my favorite treats: marshmallows! (but with a fancy name)”
“These pavlovas tasted just like how I remembered! They were fairly simple to make, and they tasted amazing. I am really happy that we can make these for our gluten free friends to also enjoy. When can we make these again?”